
- PS超详细的照片排版思路后期教程(12-03)
- PS+LR古风人像摄影皮肤修饰后期调色教程(12-03)
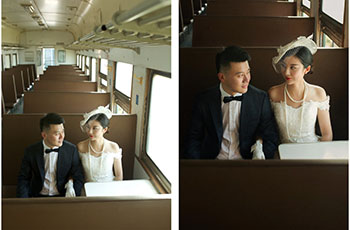
- PS如何拯救一张婚礼跟拍废片后期修图调色教程(11-24)
- PhotoShop仿工笔画风格古典风人像摄影后期处理教...(11-24)
- PS影楼工作室旅拍外景婚纱照后期调色处理教程(11-18)
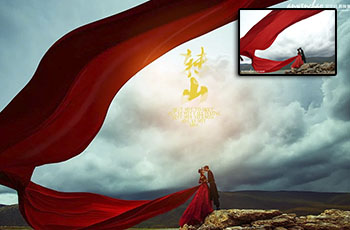
- PhotoShp制作傍晚夕阳逆光光影效果教程(11-06)
- PS制作复古工笔画风格人像照片后期教程(11-05)
- PS之商业广告人像摄影后期精修解析(09-27)
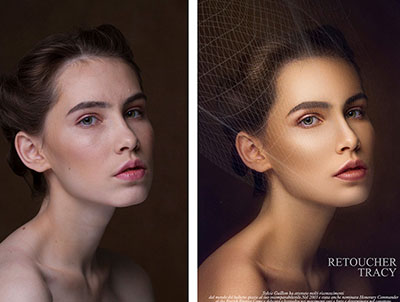
- PhotoShop商业大片皮肤修饰人像摄影后期修图教程(07-31)
推荐精品照片处理PS教程
| ||||