жӣҙж–°ж—¶й—ҙпј� 2006-07-20
еҪ•е…Ҙпј� й»„еҸ¶йЈһжү¬ пј�
1.
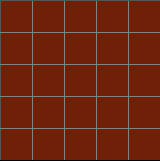
Create a new document 10X10 pixels and fill it with #611502. Now go to Edit>Prefrences>Guides Grids and Slices and set 'Gridline every: 2 pixels' and Subdivisions to 1. This gives us a nice grid to work with and keep out patterns inline. Press ok and return to your document. Now make sure you turn grids on (Ctrl + ') or View>Show>Grid.
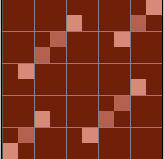
2. Now grab your pencil tool and create a pattern like mine. I'm just placing pixels in different places, but also trying to keep in mind that this will need to repeat. Use different shades and tones to give your pattern a bit of depth. Now once your happy with your results go to Edit>Define Pattern.
3. Lets test our pattern out.
Create a new document about 500X500 and then grab your paint bucket tool. If grids are still on you might want to turn them off (Ctrl + '). Up in the top left corner set the Fill to 'Pattern' and then in the pattern dialog, select the pattern you just created. Now click on your document to fill. There you have your pattern. Now this pattern is kinda boring so lets see if we can keep working with it to get something a little better.

4. Go back to your original pattern document where we created our pattern and then select the layer with your pattern pixels on it and then go to filter>Pixellate>Fragment. This filter can really work wonders on your patterns! You should have something that looks similar to mine, assuming you created a pattern like mine in step 2. Now define this as a pattern again and then fill your 500X500 document to see how your pattern is taking shape. Now I don't know about you, but I'm liking this pattern, It has alot more depth than our original and looks much nicer. This is all trial and error, so continue to play with your pattern to see what works best for you.

5. Changing the color of your pattern is also extremley easy.
Create a new layer above your pattern layer on our 500X500 document and fill it with any color other than white or black. Now set its blend mode to color and then press Ctrl + U, Check the colorize box and then slide the Hue/Saturation sliders until you get your desired color.
Below are some examples of other patterns I created. I used the same methods above except a different pattern on step 2 each time.


 Using the offset Filter
The offset filter can really lead to some interesting results and its all a matter of playing with different pixel patterns and settings with the offset filter. There is a few fundamentals you'll need to know first before sucessfully using the offset filter to create seamless patterns.
Create a pattern like mine on a 20 x 20 document with grid settings like we used above. This pattern will be a little larger of course because we are using a 20x20 canvas. Basically on this pattern I want to try and keep my left and right sides identical, but I'm not to worried about my top and bottom halfs.
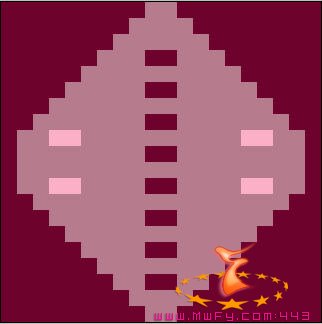
Once you create your pixel pattern go to
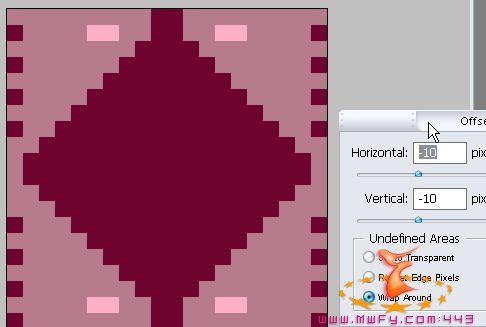
Filter>other>offset. Now set Undefined Areas to 'Wrap Around'. Ok, here's where some basic math comes into play. We want to offset in multiples of our document(I'm assuming thats the correct way to say that..heh). In other words our document is 20X20, so any number that will divide into 20 we can use to offset our document, specifically 50% will work. So in this case, I'm going to offset by -10 or 10 (both yeild the same results). Now press ok and define your pattern again and fill your 500X500 document to see your results.
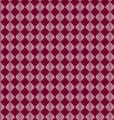
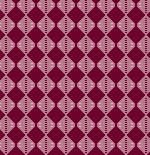
Pattern Examples:
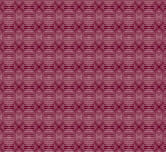
Same as above, except with Fragment
Filter applied.
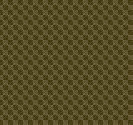
Same as original except shrunk to 10 X 10 pixels.