| 1) |
Open a new file, around 450 x 350 pixels, with any background color. I used black. |
| 2) |
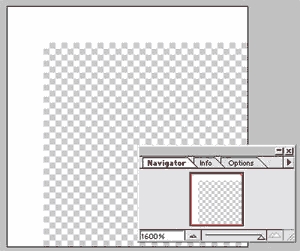
Open another file. 20 x 20 pixels with a transparent background and using the pencil tool do this. I zoomed in to 1600% thats why its looks so big. Make the white thinkness about 3 pixels on the top and left side. |
3) Still on the 20 x 20 file, go to SELECT > ALL
4) Go to EDIT > DEFINE PATTERN.
5) Now click on the original file, the one with the black background. Make a new layer.
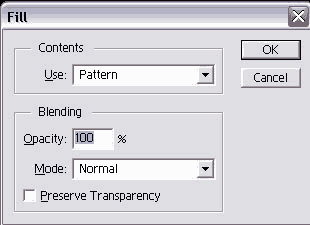
6) Go to EDIT > FILL. This box will popup.
Make sure you have USE set to PATTERN.
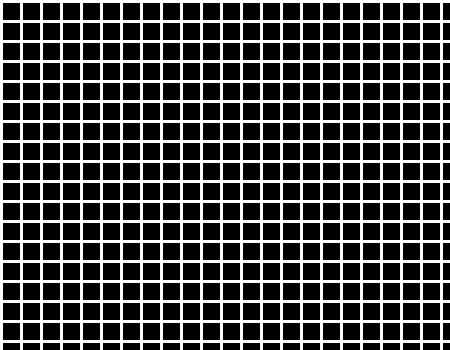
heres what you should get.
| 7) |
Using the rectangle Marquee tool select a area that makes a complete square. Cause we don't want to have incomplete edges in our grid like the right and bottom side are now. |
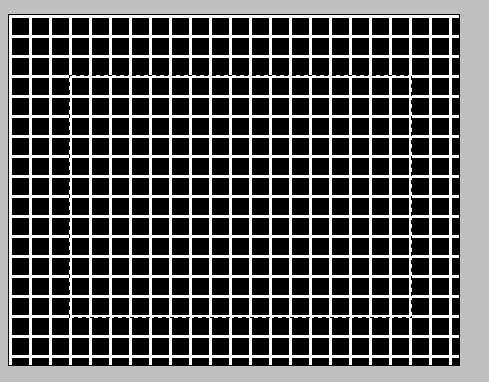
8) Go to SELECT > INVERSE. then hit the delete button. Your grid should look like this.
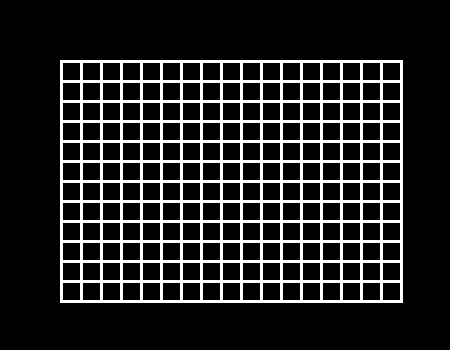
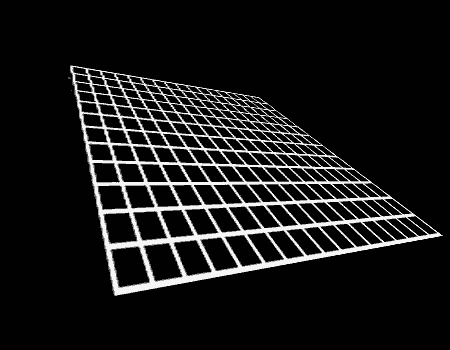
9) Now on the Grid layer, go to EDIT > TRANSFORM > PERSPECTIVE. Just play
around until you get what you want. Heres mine.
