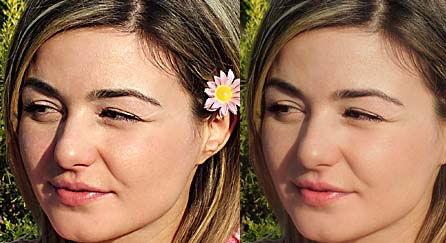
The tutorial below will show you how you can softening the skin tones and lowering the contrast at the same time.
Step 1.) Press ctrl-j to make duplicates of your background layer in your Layer Pallete. Now that you have ‘layer 1 copy�� and ‘layer 1��, hide the ‘layer 1 copy�� by clicking the eye icon and change the ‘layer 1�� layer mode to Darken.
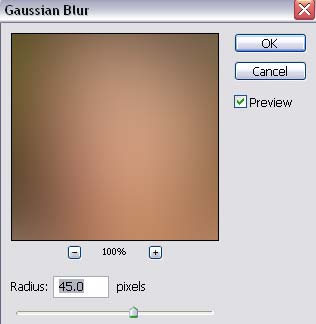
Step 2.) Apply 45 pixel gaussian blur filter to your ‘layer 1�� ( filter > blur > gaussian blur)
Step 3.) Now hide the ‘layer 1�� by clicking on the eye icon, and make the ‘layer 1 copy�� visible by clicking the empty box on the left. After that, change the ‘layer 1 copy�� layer mode to lighten.
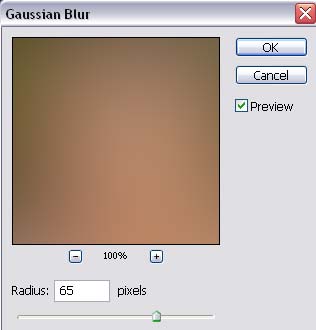
Step 4.) Apply the 65 pixel gaussian blur to ‘layer 1 copy�� (filter > blur > gaussian blur)
Step 5.) Hide your ‘background�� layer and create a new layer above the ‘layer 1 copy�� layer
Step 6.) Now you want to merge ‘layer 1 copy�� & ‘layer 1�� and create a flattened version in your ‘layer 2�� by selecting ‘layer 2�� first, then pressing the alt key and at the same time go to layer > merge visible. Or you can just press alt +shift +ctrl +e.
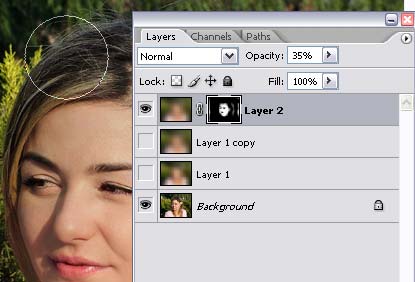
Step 7.) Hide ‘layer 1�� and ‘layer 1 copy�� and make your ‘background�� layer visible. Lower the ‘layer 2�� opacity to 35% or 40%.
Step 8.) Mask the ‘layer 2�� to keep the detail areas such as eyes, lips, eyebrows, hair by clicking on the add vector mask button on the bottom of your layer pallete.
Step 9.) Choose the soft-edged brush, and start to paint the layer vector mask to black to the areas that you should have full detail. Mine is pretty much everything but the skin.