|
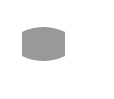
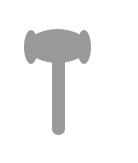
Start by creating a rectangle using rectangular shape tool. |
|
|
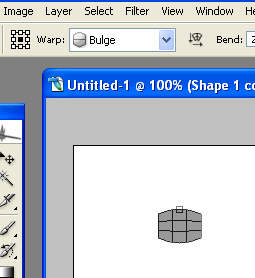
| Press Ctrl+T. Right click the layer and select warp. From warp presets at the top bar select bulge. |
|
|
|
|
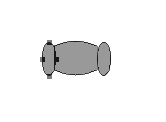
| Create two ellipse shapes using elliptical shape tool and place on each side of the previous shape. |
|
|
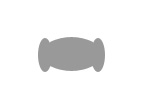
| Select & merge the three shapes. |
|
|
| Create a vertical rounded rectangle using rounded rectangle shape tool. Move this layer below the upper portion layer in layer palette. |
|
|
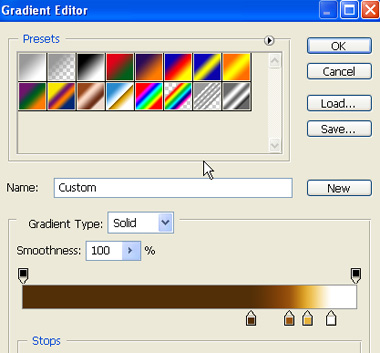
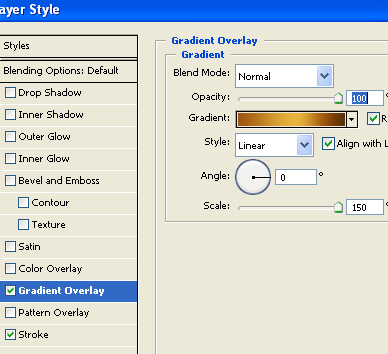
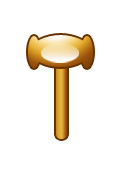
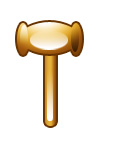
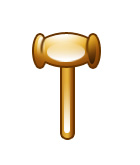
| Select the upper part layer. Double click the layer to open layer style window. Enable gradient overlay. Click gradient and create a gradient like this in gradient editor. |
|
|
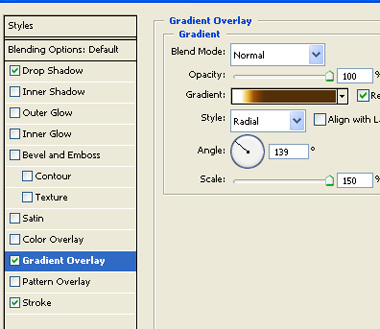
| Apply settings as shown. |
|
|
|
|
|
|
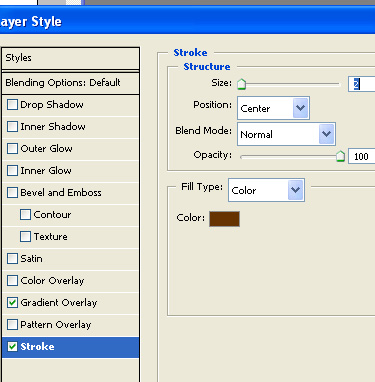
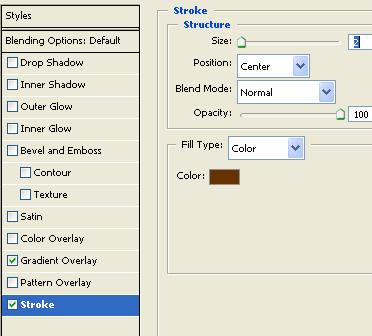
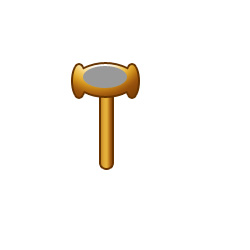
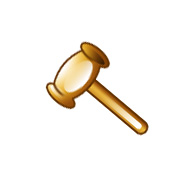
| Select the lower portion layer of the gavel. Double click the layer to open layer style window. Apply layer style with the settings shown. |
|
|
|
|
|
|
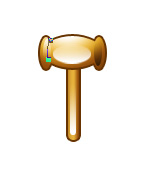
| Create an ellipse using elliptical shape tool. |
|
|
| Right click the layer in layer palette and click rasterize. Enable lock transparent pixels from layer palette. Apply a black to white gradient in linear mode. |
|
|
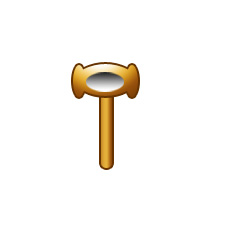
| Change the layer mode to screen. |
|
|
| Similarly Create two vertical ellipse shapes using elliptical shape tool and place on either side. rasterize and fill with black to white gradients. Change layer mode of left one to screen and right one to multiply. |
|
|
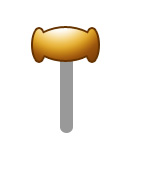
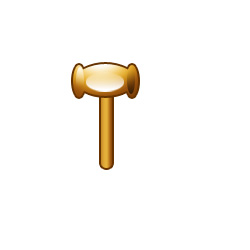
| Similarly add glassy highlights to the handle layer of the gavel. |
|
|
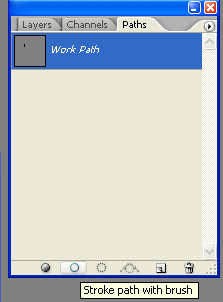
| Using pen tool in path mode create an arc shape. |
|
|
| Select brush tool and a 3 pixel wide solid brush setting. Create a new layer. In path window click stroke path with brush button. |
|
|
|
|
| Similarly create an arc outline on the other side of the gavel. |
|
|
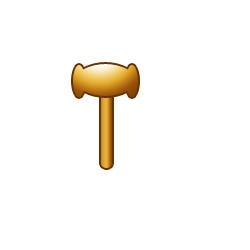
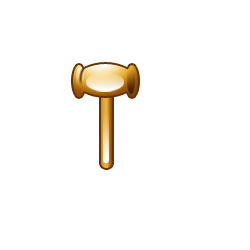
| Select all layers. Press Ctrl+E to merge the layers together. Ctrl+T and rotate a few degrees. |
|
|
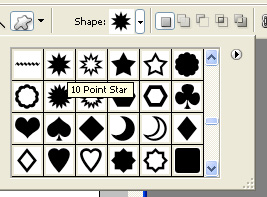
| Select custom shape tool and from top bar select a 10 point star shape. |
|
|
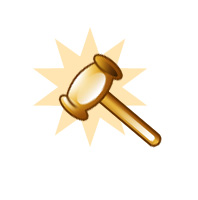
| Create a new layer below gavel layer and create the shape as shown in the image. Reduce opacity of this shape to 50%. |
|
|