|
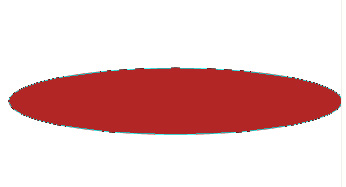
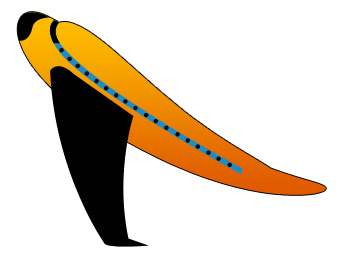
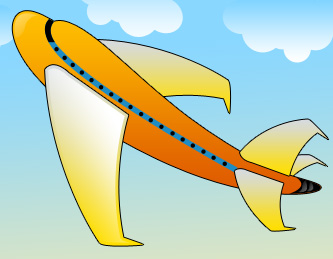
Start by creating an ellipse using elliptical shape tool. |
|
|
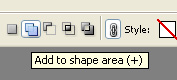
| Enable add to shape area from the top bar. |
|
|
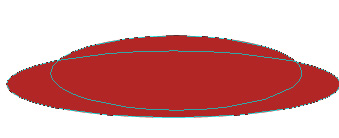
| Create another ellipse over first ellipse. |
|
|
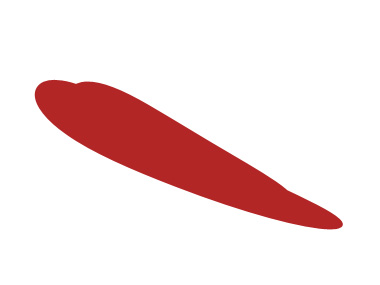
| Press Ctrl+T. Right click the layer and select warp. Select arc upper from the custom warp presets. Apply settings as shown. |
|
|
|
|
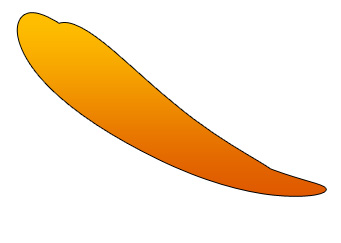
| Press Ctrl+T again. Right click the layer and select warp. Select rise from the custom warp presets. Apply settings as shown. |
|
|
|
|
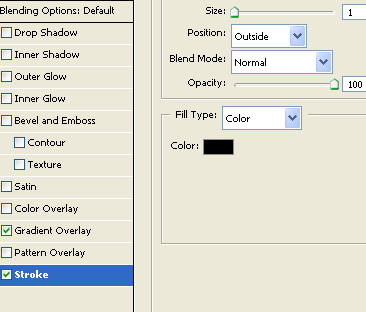
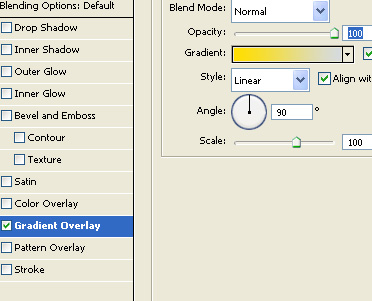
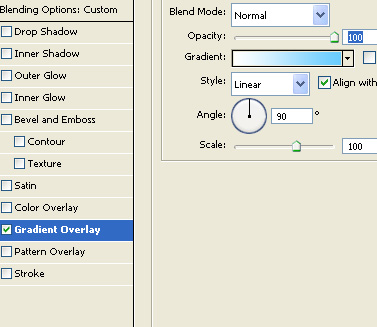
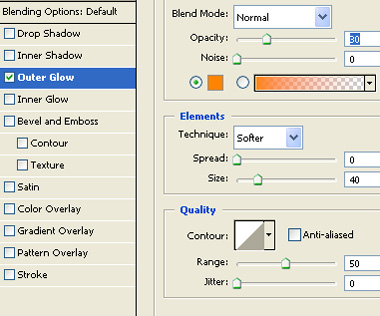
| Double click the layer to open layer style window. Apply layer style with the settings shown. |
|
|
|
|
|
|
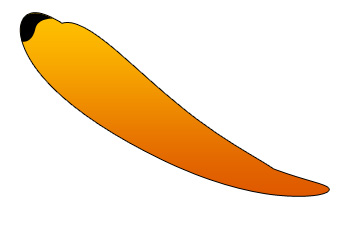
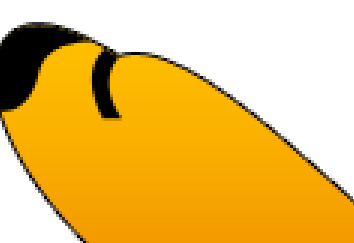
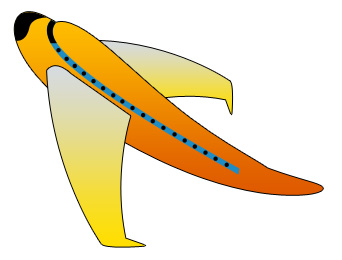
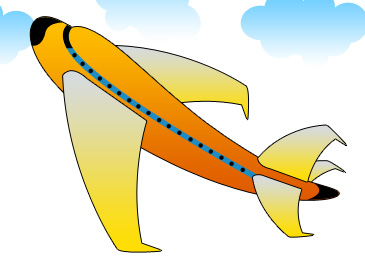
| Create a shape on the tip using pen tool. |
|
|
| Create a rectangle using rectangular shape tool. Press Ctrl+T. Right click the layer and select warp. Adjust nodes to get the shape as shown. |
|
|
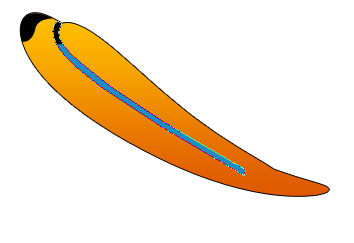
| Similarly create another line as shown in the image below. |
|
|
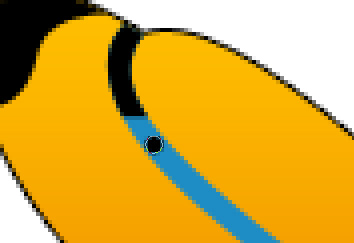
| Create a tiny circle using elliptical shape tool. Place it as shown. |
|
|
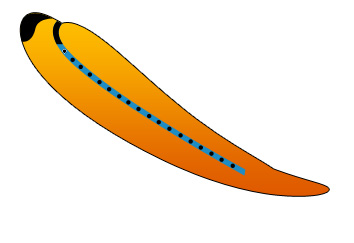
| Duplicate the layer several times and place as shown in the image below. |
|
|
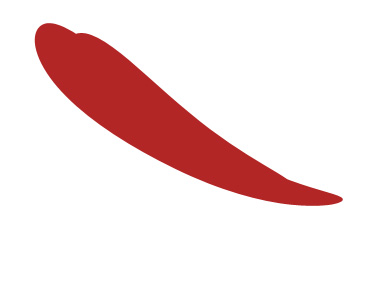
| Using pen tool create wing of the airplane. |
|
|
| Double click the layer to open layer style window. Apply layer style with the settings shown. Apply stroke with the previous settings. |
|
|
|
|
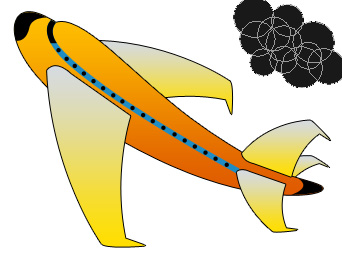
| Duplicate the layer. Press Ctrl+T. Right click the layer and select flip horizontal. Rotate the layer and distort to get the shape as shown. Move this layer below all the layer in layer order in layer palette. |
|
|
| Duplicate, scale down to create small flaps and place towards the rear of the airplane. |
|
|
| Create a small black shape using pen tool as shown and placed. |
|
|
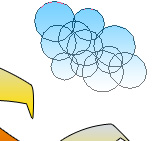
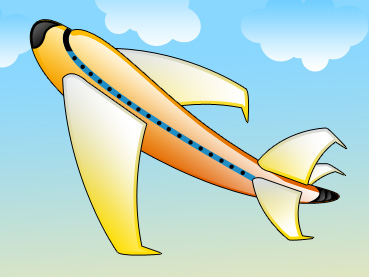
| Create a circle using elliptical shape tool. Enable add to shape area form the top bar. Create more circles overlapping each other randomly. this will create a cloud shape. |
|
|
| Double click the layer to open layer style window. Apply layer style with the settings shown. |
|
|
|
|
| Similarly create more clouds. |
|
|
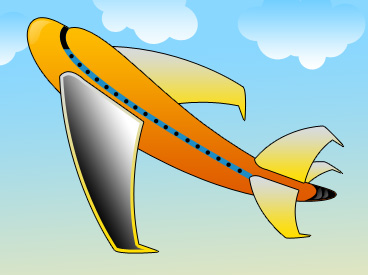
| Fill the back ground with sky gradient. Ctrl+Click the wing layer thumbnail to get the selection. From select menu apply modify>>contract. Contract the selection by 3 pixels. Apply black to white gradient in a new layer. |
|
|
| Change the layer mode to screen. |
|
|
| Reapply the same technique to give a shiny look to various parts of the plane. |
|
|
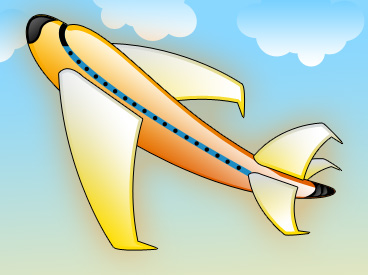
| Select and merge all airplane layers. Double click the layer to open layer style window. Apply layer style with the settings shown. |
|
|
|
|