|
Start by creating a new file of the header size. Create a rounded rectangle using rounded rectangle shape tool. |
|
|
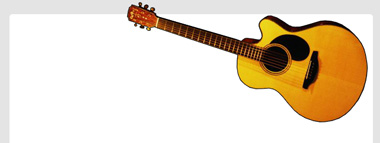
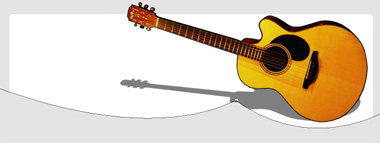
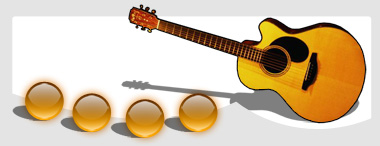
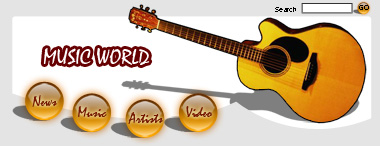
| Insert a guitar cutout and place on the left side. |
|
|
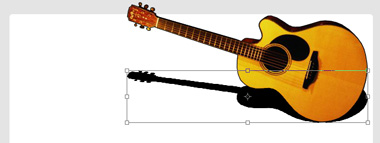
| Duplicate layer. Press Ctrl+T. Squeeze it vertically. |
|
|
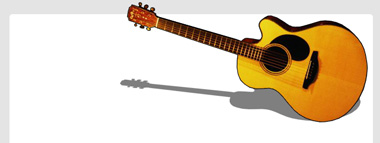
| Reduce the opacity to create a perspective shadow. |
|
|
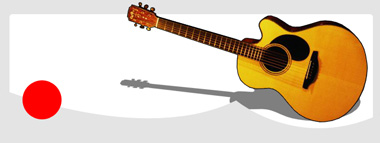
| Using pen tool create a wave shape path. |
|
|
| Create a circle using elliptical shape tool. |
|
|
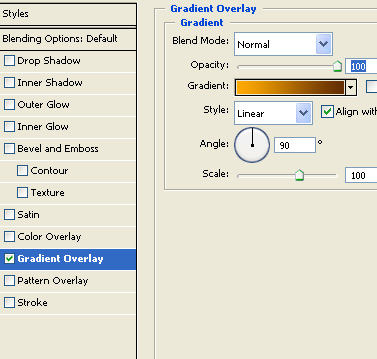
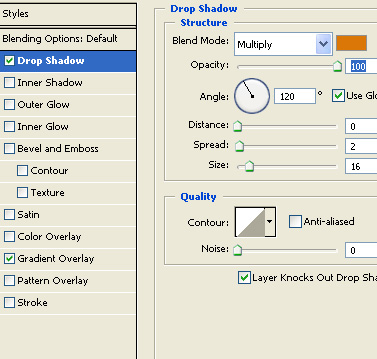
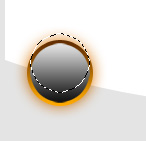
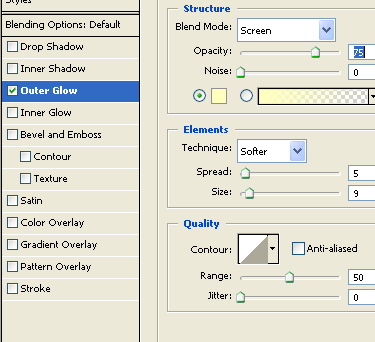
| Double click the layer to open layer style window. Apply layer style with the settings shown. |
|
|
|
|
|
|
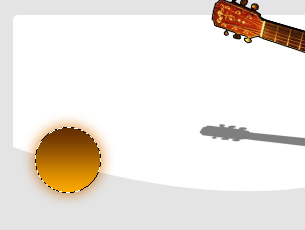
| Ctrl+Click the layer thumbnail to get the selection. |
|
|
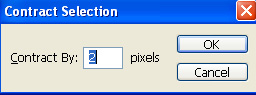
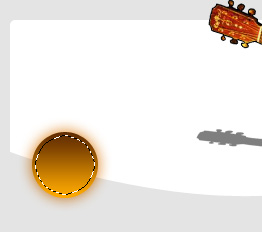
| From select menu click modify>>contract. |
|
|
|
|
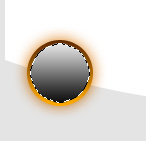
| Create a new layer. Fill the selection with white to black gradient in linear mode. |
|
|
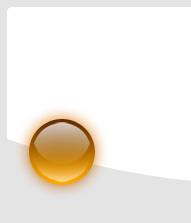
| Select marquee tool and move the selection upwards. |
|
|
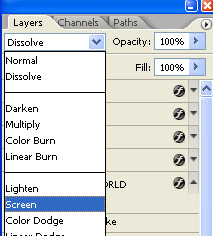
| Press Ctrl+Shift+I and press delete. Change the layer mode to screen. |
|
|
|
|
| Similarly create another glassy highlight in the lower half of the circular button. |
|
|
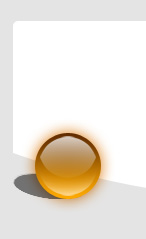
| Create an ellipse using elliptical shape tool, rotate and move the layer below the circular button in layer order to create a perspective shadow. |
|
|
| Create some duplicates for the other buttons. |
|
|
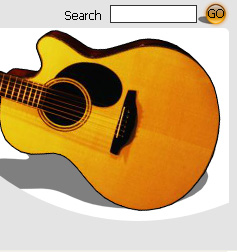
| Add search bar on the top of the header. |
|
|
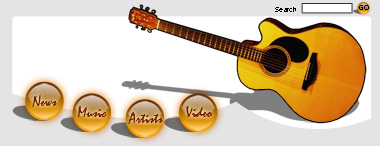
| Type button links using a nice font. |
|
|
| Double click the text layer to open layer style window. Apply layer style with the settings shown. |
|
|
|
|
|
|
| Insert company logo and place on the left side. |
|
|