|
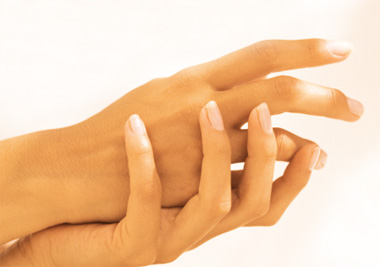
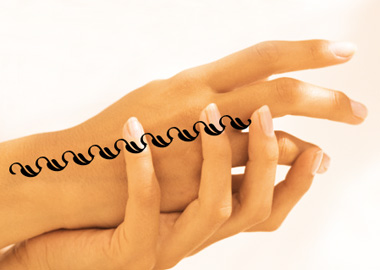
Start by opening an image of woman's hands. |
|
|
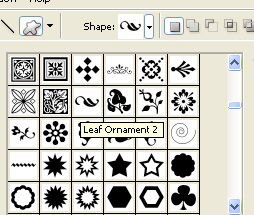
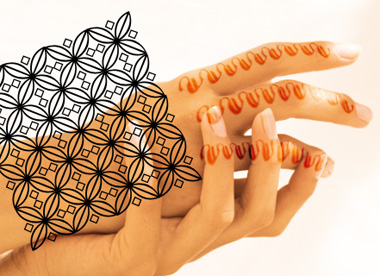
| Select ornament 2 shape using custom shape tool. |
|
|
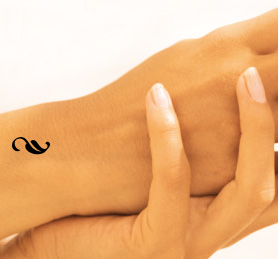
| Create the shape over the hand. |
|
|
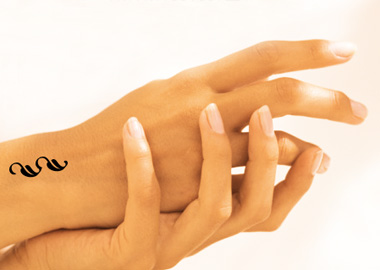
| Duplicate this layer and place as shown in the image below. |
|
|
|
|
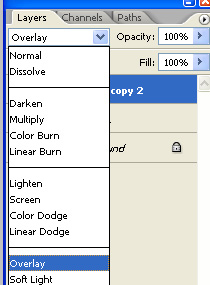
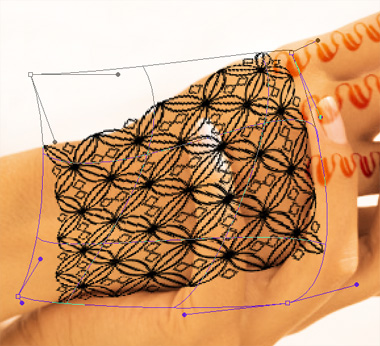
| Select and merge all the shape layers. Press Ctrl+T. Right click the layer and select warp. Adjust nodes to get the shape as shown. |
|
|
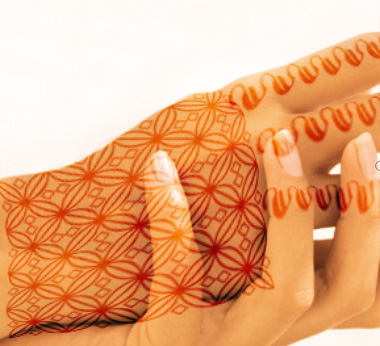
| Change the layer mode to overlay. |
|
|
|
|
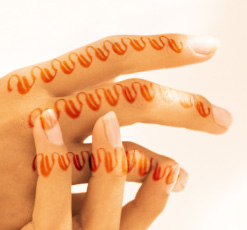
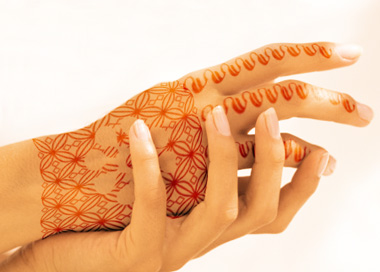
| Similarly create the design over the other fingers. |
|
|
| Create another shape using custom shape tool. |
|
|
| Duplicate layer several times and place as to create a pattern. |
|
|
| Select and merge these layers. Press Ctrl+T. Right click the layer and select warp. Adjust nodes to get the shape as shown. |
|
|
| Change the layer mode to overlay. |
|
|
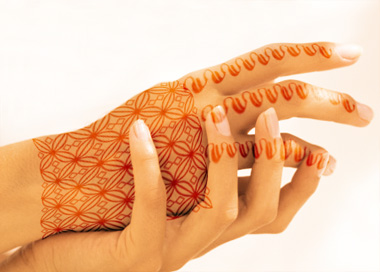
| Select eraser tool. Remove the overlapping areas. |
|
|
|
|
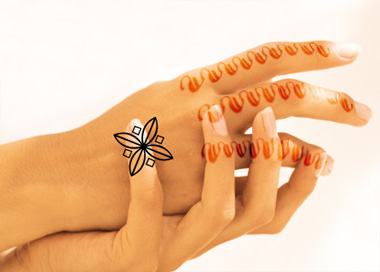
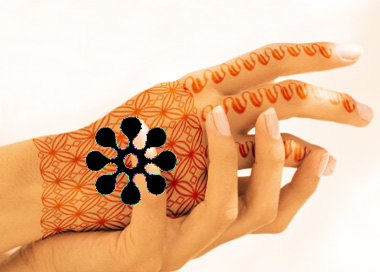
| Create another flower shape using custom shape tool. Place it in the center of the hand. |
|
|
| Warp this layer as we did previously. Rasterize and erase overlapping areas using eraser tool. |
|
|
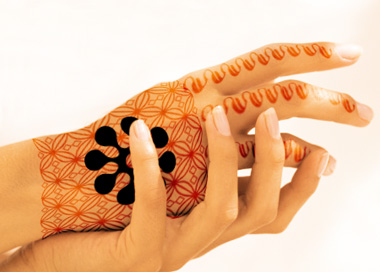
| Ctrl+Click the layer thumbnail to get the selection. Hide this layer. |
|
|
| Select the pattern layer. Press Delete. |
|
|
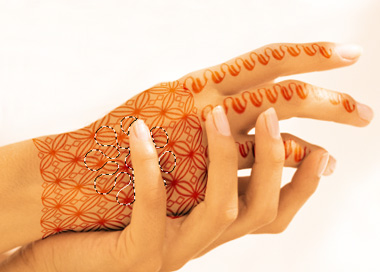
| Unhide the flower layer. |
|
|
| Create another shape on wrist and apply warp and change layer mode as done in previous steps. |
|
|