If you're looking for a way to create a smooth transition between objects, try blending the objects in Adobe® Illustrator®. You select starting and ending objects, and Illustrator adds a series of intermediate shapes and colors between them, distributed evenly along a path. Then you can edit the blend path using standard Illustrator editing tools. Follow along with this quick tip to learn how to blend two objects, and to curve the path created by the blend.

1. Select two objects:
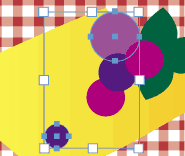
Click the first object, and then Shift-click the second one.
We're using two circles in the example. Notice the size and color differences between the circles, and watch how Illustrator handles the transition between them in the blend path.

2. Blend the objects:
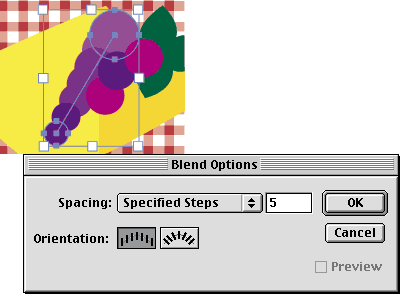
With the objects selected, choose Object > Blends > Blend Options. Choose Specified Steps from the Spacing pop-up menu, type the number of steps you want in the blend path, and click OK. Then choose Object > Blends > Make.
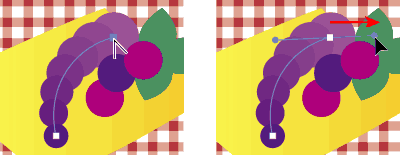
Illustrator creates a straight path of intermediate shapes and colors. Now we'll curve the path by moving a direction point.

3. Curve the blend path:
With the path selected, select the convert-direction-point tool in the toolbox (in the same group as the pen tool). Select an endpoint in the path, and drag left or right. As you drag, a direction line appears, and the point you're dragging becomes a direction point on the new line.
Experiment with blending all different kinds of objects in Illustrator - open paths (such as two lines), closed paths (such as an ellipse and a rectangle), gradients, even other blends. You can also use blends to produce airbrush effects such as complex shading, highlighting, and contouring.
