A stunning new feature to Illustrator CS2 is the Live Trace. Simplify creating vector work from scanned artwork, photographs or experimenting with textures.
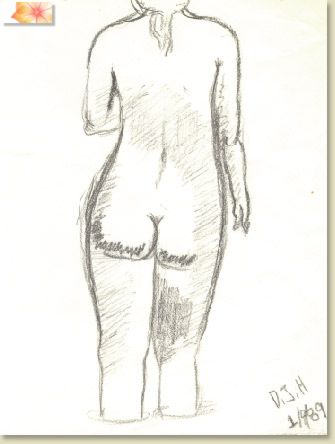
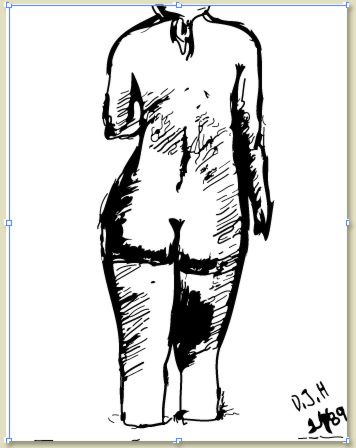
Open your scanned artwork in Illustrator CS2. This is an old doodle of mine - I never throw anything away.
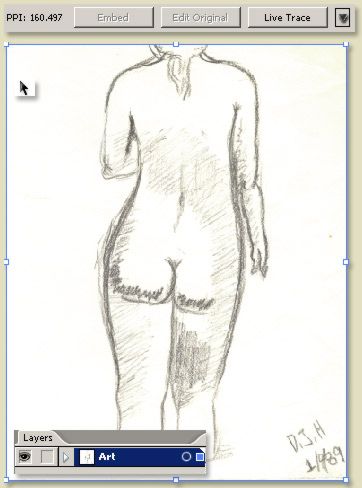
Activate the Selcetion Tool (V) from the Toolbar, then select the artwork in the canvas area, as indicated by the blue outlines, as well as, the active markers in the Layers palette to the right of that layer.
Also, the new 'Live Trace' feature becomes active up on the 'Options Bar'.
Clicking the Live Trace (Encircled in red) command button will automatically produce the 'Default' vector output. That dosn't offer much control, so click the Preset Picker command arrow icon for a list of options. Unless you are familiar with these presets then you would know which one you want to choose. But for introductory purposes, go to the bottom of the list and choose 'Tracing Options' (encircled in green).
In the Tracing Options dialog, you have the same Preset list choice as well as a slew of other options, when tweaked can create unlimited vector variations of your work.
When tweaking the Tracing options, ensure to have the 'Preview' options ticked for a live rendering preview.
As an example tweak, I set the following 'Custom' Trace options. That basically means I did not rely on any of the items in the Preset list and configured my own.
Since my artwork is a line drawing, I began with the 'Black and White' Mode Adjustment and set the following settings.
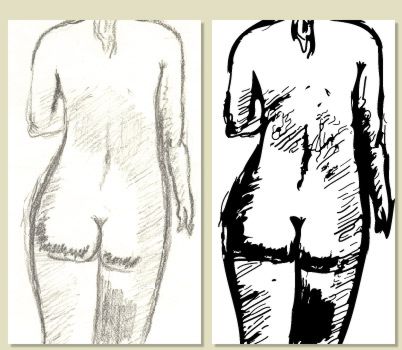
The above Custom configuration produced the following result.
If your configuration is something you want to use across similar artworks, then hit the 'Save Preset' command option to add that configration to the Preset list for later use.
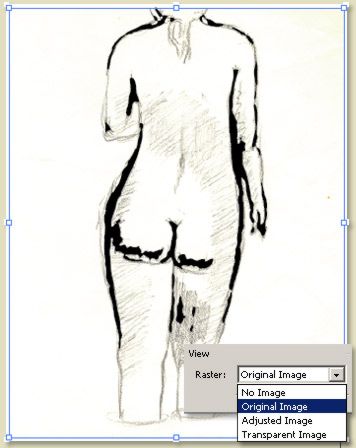
To view the artwork in the background along with your tracing options for accurate rendering then select from the 'View: Raster' drop down list (as captured below), otherwise keep it at 'No Image'.
Happy Live Tracing.


