This tutorial will show you how to make 3D gradient logo in minutes. This technique is great for making 3D graphic objects and icons.
Version: Illustrator CS2
 Download Source File (.ai)
1. 3D text
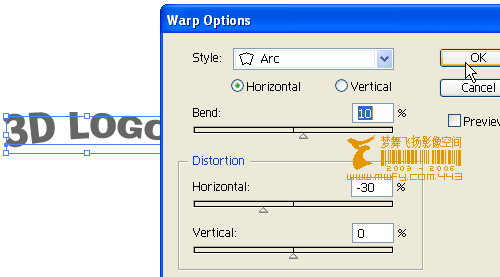
Use the
Type tool, type in "3D Logo". Go to
Effect >Warp > Arc and apply the following setting:
2. 3D Extrude & Bevel
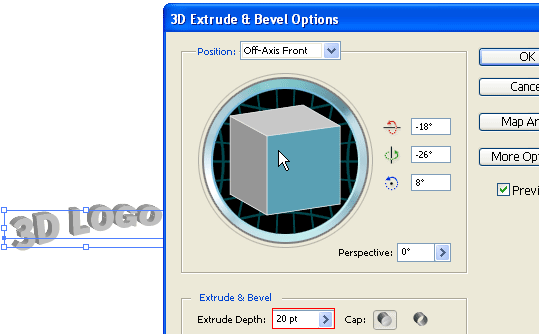
Then go to
Effect > 3D > Extrude & Bevel and apply the setting as shown in the image below. You can drag around the cube to set the
X,Y,Z rotation values. Set the
Extrude Depth to 20pt.
3. Expand Appearance
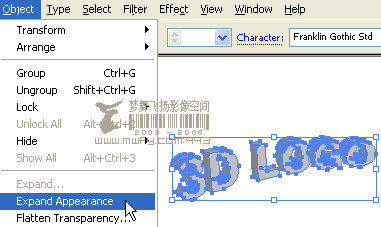
Now go to
Object > Expand Appearance to remove all effects and convert to paths. After the text object is expanded,
Ungrounp the object by
Object > Ungroup or press
Ctrl+Shift+G. You probably need to do
Ungroup 4-5 times in order to break the object apart.
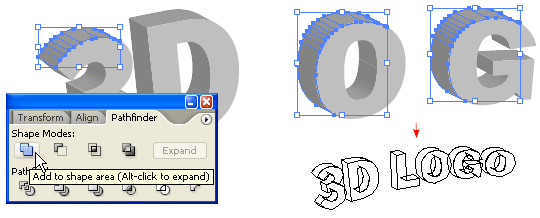
4. Merge paths
Select the round corner paths and merge them together by the
Pathfinder tool. Hold down
Alt key, click on the
Add to shape area and the selected paths will be merged. Repeat this step to clean up all round corner paths.
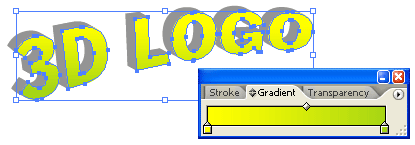
5. Apply gradient
Select the top level paths and apply a yellow-green color gradient.
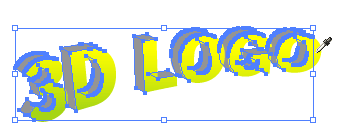
6. Eyedropper
Select the back(depth) paths, use the Eyedropper tool and click on the front paths. This will copy the gradient fill.
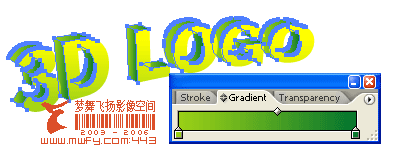
7. Darken
Keep the back paths selected, go to Gradient pallete and adjust the gradient colors to darker tone.
8. 3D logo
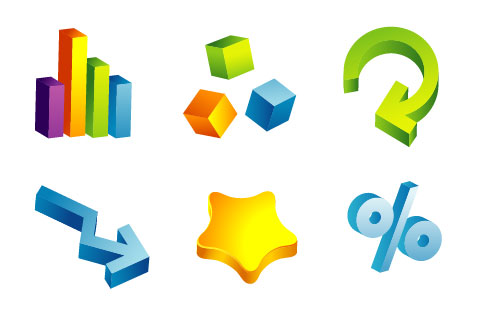
You can use this technique to make 3D objects from any shape, text, etc.
Here are the steps:
- Apply 3D Extrude & Bevel effect
- Expand object
- Ungroup object
- Apply gradient
- Eyedropper gradient fill

More...
Here are more samples I made using the same technique.