|
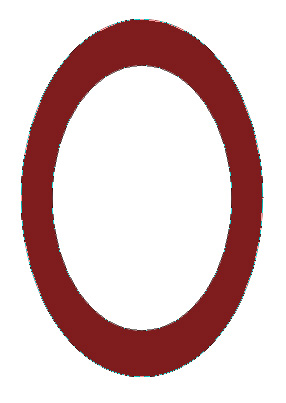
Start by creating a circular frame shape using custom shape tool. |
|
|
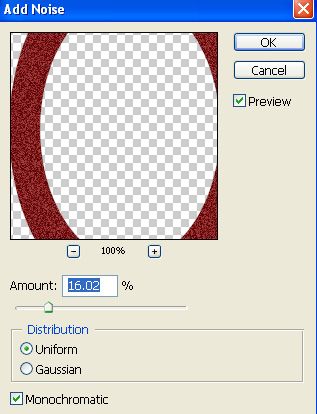
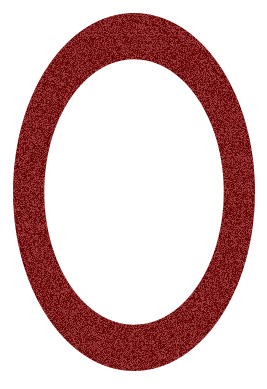
| From filter menu select Noise>>Add Noise. Apply settings as shown. |
|
|
|
|
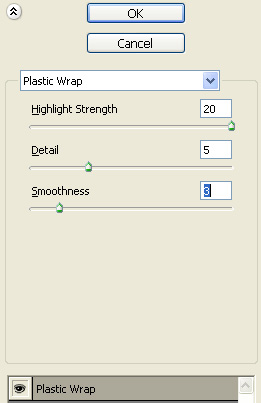
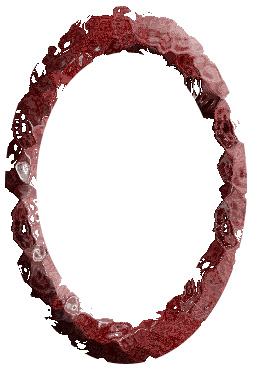
| From filter menu select Artistic>>Plastic Wrap. Apply settings as shown. |
|
|
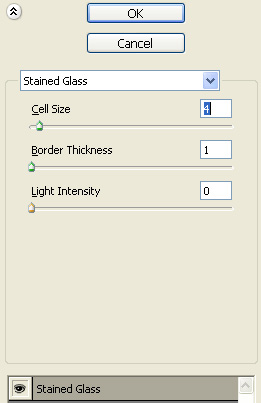
| Click on the "New effect layer" from the bottom of the effect window. From "Texture" roll out click on "Stained Glass". Apply settings as shown. |
|
|
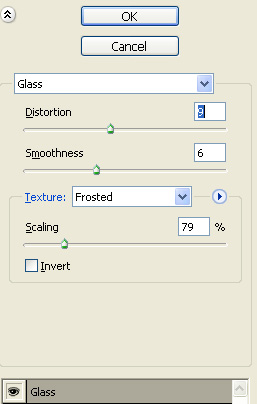
| Create a new effect layer. From "Distort" roll out select "Glass". Apply settings as shown. |
|
|
|
|
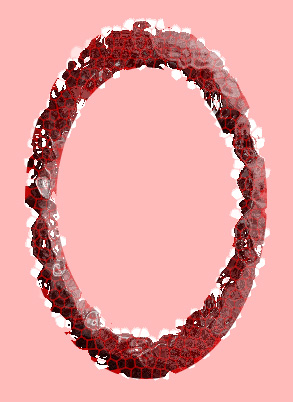
| Press Q to enable quick mask. From filter menu select Texture>>Stained Glass. Apply previous settings. |
|
|
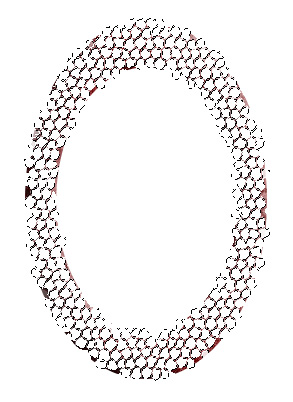
| Press Q again to disable quick mask. Create a new layer and fill the selection with white color. |
|
|
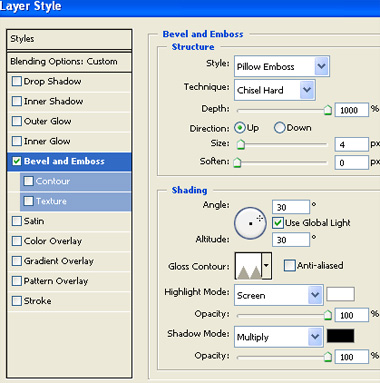
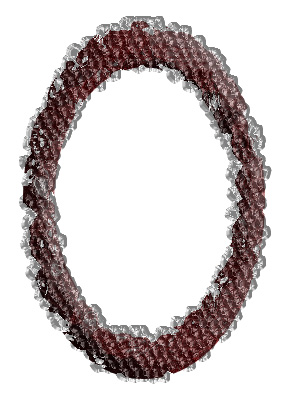
| Double click the layer to open layer style window. Apply settings as shown. |
|
|
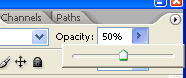
| Reduce the opacity to 50%. |
|
|
|
|
| Select and merge all the frame layers. Duplicate the layer. Change the layer mode to "Multiply". |
|
|
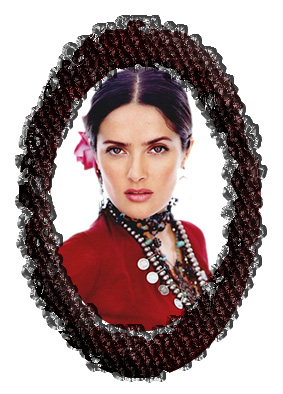
| Insert any image of your choice. Move this layer below all the layers in layer order in layer palette. Place it as shown. |
|
|
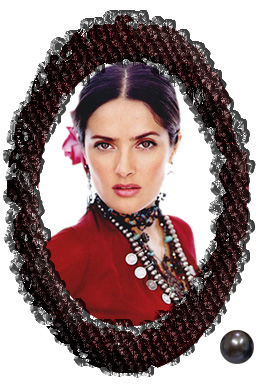
| Insert a cutout of a pearl. |
|
|
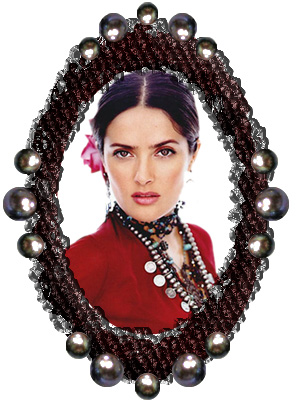
| Duplicate the layer several times, scale down and place as shown below. |
|
|