|
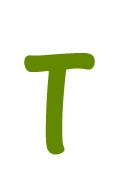
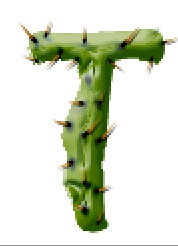
Start by typing an alphabet. |
|
|
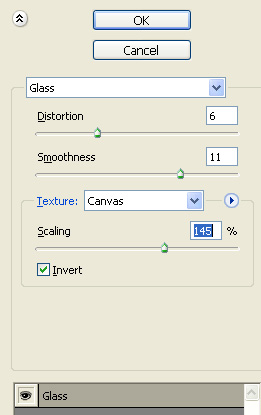
| Press Q to enable quick mask. From filter menu select distort>>glass. Apply settings as shown. |
|
|
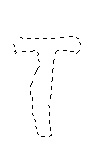
| Press Q again to disable quick mask. Hide the original text layer. |
|
|
| Create a new layer and fill it with a solid green color. |
|
|
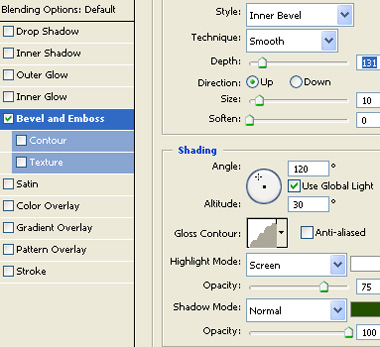
| Double click the layer to open layer style window. Apply layer style with the settings shown. |
|
|
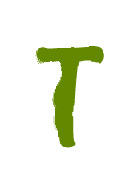
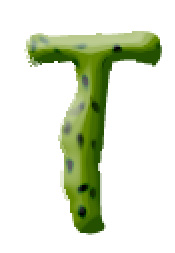
| Select burn tool . From the main top bar adjust the settings as shown. Apply the tool to create dark patches over the filled text layer. |
|
|
|
|
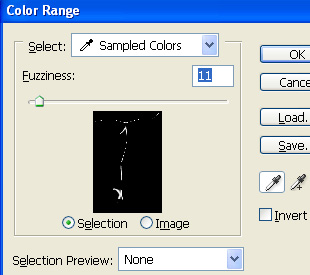
| From select menu click color range. Using eyedropper tool click on the area to create a selection. |
|
|
|
|
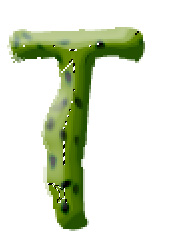
| Press Ctrl+J to copy paste the selection in a new layer. Double click the layer to open layer style window. Apply layer style with the settings shown. |
|
|
|
|
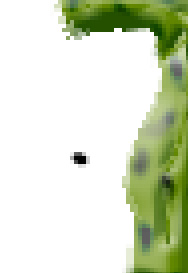
| Create a tiny ellipse using elliptical shape tool. |
|
|
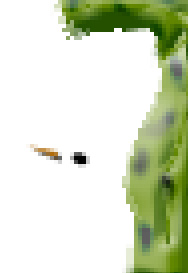
| Using pen tool create a shape as shown. |
|
|
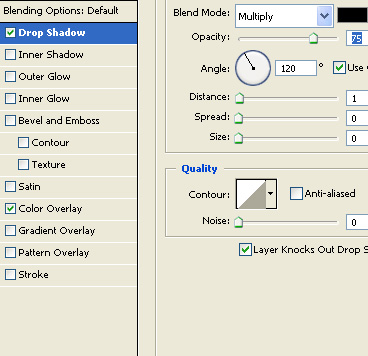
| Double click the layer to open layer style window. Apply layer style with the settings shown. |
|
|
|
|
|
|
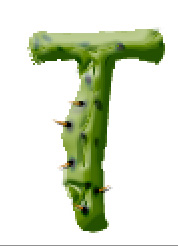
| Similarly create more duplicates of the thorn layer and place as shown. |
|
|
|
|
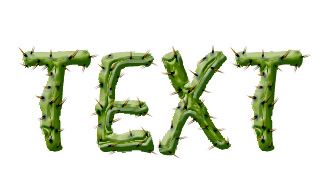
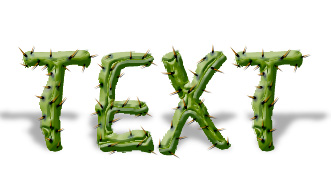
| Apply the same technique to more alphabets. |
|
|
| Duplicate all layers. Select and merge duplicates layers. Enable lock transparent pixels from layer palette. Fill it with black color. Press Ctrl+T. Right click the layer and select distort. Adjust nodes to create a perspective shadow. Reduce the opacity. |
|
|
| Fill the background with a gradient. |
|
|