Scribbling Pencil
[ 作者来源:photoshopdrawings.com
编辑整理:
PhotoShop资源网
更新时间: 2006-09-28
录入: 黄叶飞扬 ]
1. Open a New Document in
Photoshop. Choose a 600x600 width/height resolution for a good working canvas area.
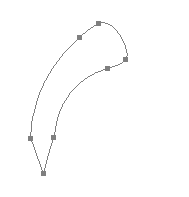
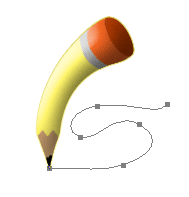
2. Select the Pen Tool.
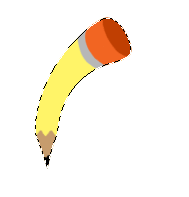
Create a path like the one below:

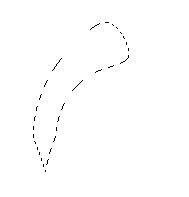
3. Select the Path Selection Tool. Right click the path, choose "Make Selection" from the pop-up list.
4. The "Make Selection" box appears. Accept the default Feather Radius: 0 and click OK.

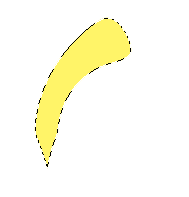
5. Select the Paint Bucket Tool. Fill in the selection with a light yellow.

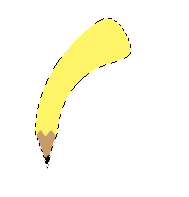
6. Select the Paint Brush Tool. Choose an appropriate size brush. Paint in the bottom section of the pencil with a tan color.

7. Choose a smaller size brush and paint in the tip of the pencil with black.

8. Choose a larger size brush and paint in the eraser top of the pencil with orange.

9. Paint the metal border below the eraser with grey.

10. Paint a circular area over the eraser representing the top of the eraser.

11. Right click the layer with the pencil. Select "Blending Options".
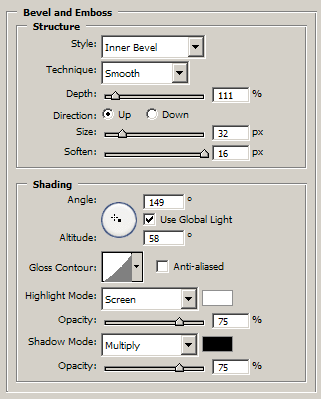
12. Set the properties for "Bevel and Emboss" to the following:

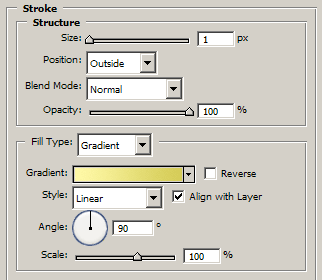
13. Set the properties for "Stroke" to the following:

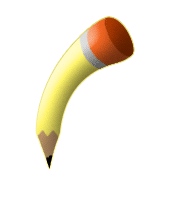
14. Click OK.

15. Create a new layer. Name it "Pencil Line". Place this layer underneath the layer with the pencil graphic.
16. Select the Pen Tool. Create a path for your pencil line.

17. Choose a black as your foreground color.
18. Select the Path Selection Tool. Right click the path and choose "Stroke Path" from the pop-up.
19. When the "Stroke Path" pop-up appears. Choose "Brush" from the dropdown list. Also click the "Simulate Pressure" checkbox.
20. Click the Delete key to remove the path.
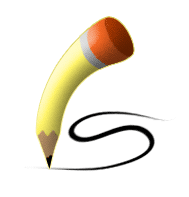
21. You should now be done!

≡★ 免 责 声 明 ★≡
除本站原创外,本站所提供的所有教程均收集整理自网络,其版权归该教程直原始作者或原始出处所有!
除特别声明外,您可以在保持教程的完整和注明来源的前提下免费复制、转贴本站所提供的所有教程;但是,不可以盗链本站的图片!
除特别声明外,在未经许可的情况下您不得将本站所提供的任何教程(包括资源)用于商业用途;
如果确有需要,请自行与该教程的原始所有权者(即:原始作者或出处)联系,本站不提供相关服务;否则,由此而引发的一切后果由您自负!


