- PS+AI结合制作动感线条视觉海报教程(06-17)
- PSCC操控变形工具制作一个沙漠中脖子打结的长颈鹿(06-04)
- PS使用烟雾笔刷制作抽象风格环保人像海报(06-02)
- PS+portraiture制作创意吹出人头形状的泡泡糖的教程(05-28)
- PS使用火焰素材合成一个火焰眼球魔女游戏海报(05-28)
- PhotoShop制作3D立体风格剪纸艺术效果的教程(05-26)
- PhotoShop制作质感PS标识方形按钮图标的教程(05-25)
- 数学达人教你用PS精确绘制一个八度旋转的相机镜头图标...(05-23)
- PS给黑寡妇打手们穿上喜气洋洋的东北花棉袄(05-22)
推荐精品创意设计PS教程
| ||||


 Contract the selection by 3 pixels by going to Select > Modify > Contract and using 3 pixels in the input box
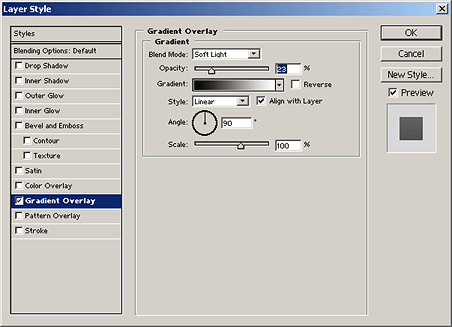
  Get the gradient tool and use these options:
 Now draw the gradient from above the selection to the bottom
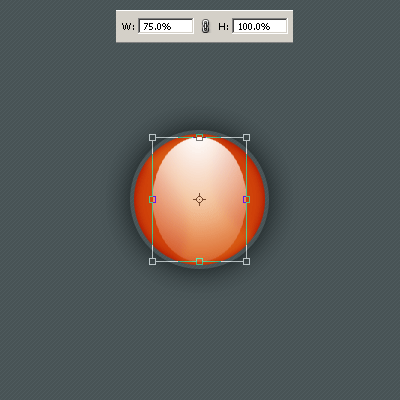
 Hit CTRL+T to go into the transform mode, at the top change Width to 75%
 Erase a bit more and set the layer mode to Overlay
 Do the same again but this time at the bottom, then change the layer mode to Overlay and the opacity to 80%
 On a new layer add some highlights with the brush tool and changing the blend modes.
 A cool look is adding in chromed clouds and changing the layer mode:
 Thanks for reading, the PSD can be found


