Professional Glossy Buttons
[ 作者来源:photoshopstar
编辑整理:
PhotoShop资源网
更新时间: 2006-10-03
录入: 黄叶飞扬 ]
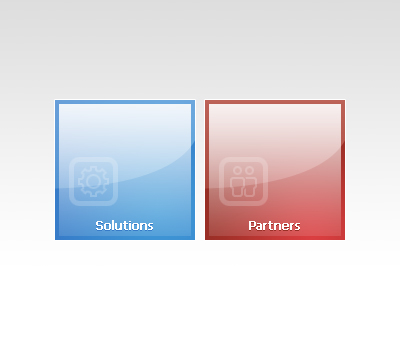
With this tutorial you can learn how to make some large, glossy, professional buttons. Professionals that make templates for a living can use these efficiently and make money!
1. Preparing the Canvas/Background
First create a new document of any size. I used 400×340 because I’m not going to be making a complete template.
I also added a light grey gradient into the background.

2. Making the Shape
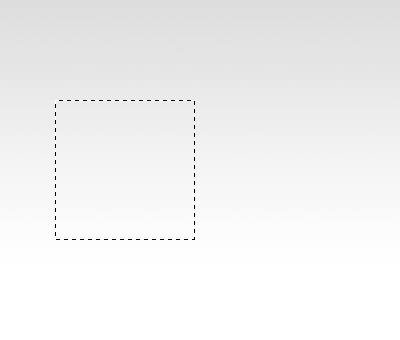
Get the Rectangular Marquee Tool and make a Set-Sized Selection of 140×140 pixels somewhere on the canvas.

2. Filling the Shape
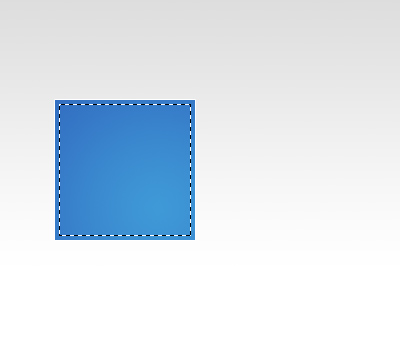
With the selection still active, make sure you’re on a new layer and fill it with a radial gradient.
 I used the colors #3e94d4 and #336fc1.
I also applied a White (#FFFFFF) Stroke to the main layer.

2. Highlights
Start by selecting the main layer again (Hold CTRL and Click the layer thumbnail)
 Contract the selection by 4 pixels by going to Select > Modify > Contract and inputting 4.
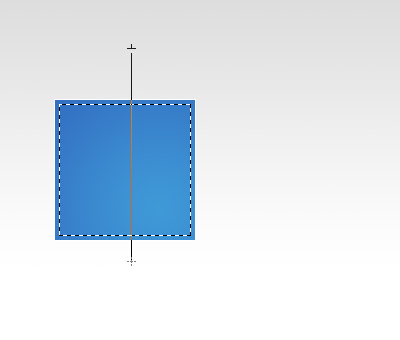
 With the Gradient Tool drag a White to Transparent gradient from the top to the bottom like so:

 You should be left with a result like so:
 Next with the Pen Tool make a curvy path like so:
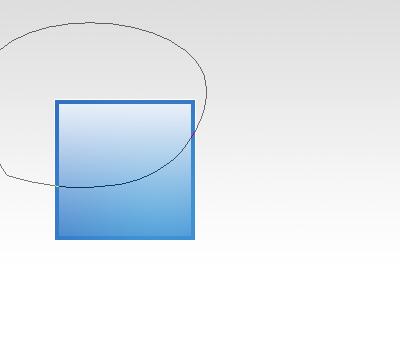 With the Pen Tool still selected, right click the path and click Make Selection, use the default options.
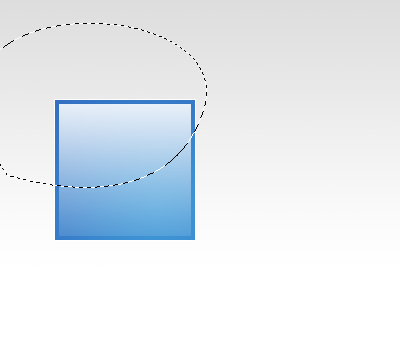 Create a new layer and again with the Gradient Tool make a White to Transparent gradient from the top to the bottom..
 Change the layer mode for this layer to Soft Light and lower the opacity if needed, I didn’t need to.

3. Details
I also added a low-opacity icon in the left corner area. Note: The icons I used are from TemplateMonster.com
 Added some text, I used Tahoma, 11PT, #FFFFFF, with this Drop Shadow.
 I then duplicated all of the layers, moved them over so there’s about 10 pixels space between each of them then changed the colors.
To change the colors edit the gradient for the first layer, then edit the Drop Shadow for the text.
 That’s all for this tutorial, folks. Thanks for reading, I hope you enjoyed
  You can download the PSD file from here.
≡★ 免 责 声 明 ★≡
除本站原创外,本站所提供的所有教程均收集整理自网络,其版权归该教程直原始作者或原始出处所有!
除特别声明外,您可以在保持教程的完整和注明来源的前提下免费复制、转贴本站所提供的所有教程;但是,不可以盗链本站的图片!
除特别声明外,在未经许可的情况下您不得将本站所提供的任何教程(包括资源)用于商业用途;
如果确有需要,请自行与该教程的原始所有权者(即:原始作者或出处)联系,本站不提供相关服务;否则,由此而引发的一切后果由您自负!


 I used the colors #3e94d4 and #336fc1.
 Contract the selection by 4 pixels by going to Select > Modify > Contract and inputting 4.
 With the Gradient Tool drag a White to Transparent gradient from the top to the bottom like so:
 You should be left with a result like so:
 Next with the Pen Tool make a curvy path like so:
 With the Pen Tool still selected, right click the path and click Make Selection, use the default options.
 Change the layer mode for this layer to Soft Light and lower the opacity if needed, I didn’t need to.
 Added some text, I used Tahoma, 11PT, #FFFFFF, with
  I then duplicated all of the layers, moved them over so there’s about 10 pixels space between each of them then changed the colors.


