Spiral Vortex
[ 作者来源:adobenerds
编辑整理:
PhotoShop资源网
更新时间: 2006-10-04
录入: 黄叶飞扬 ]
Description: In this tutorial, you will be making a spiral vortex. This spiral vortex is quite unique and in my opinion, very fun to make. The effects makes a very space like spiral, and with a feel filters it spins itself into a space vortex! After the tutorial, you
1. To start the tutorial you will need a canvas. You can do that by following these instruction. (quite obvious! ) File >> New and start with a fairly big canvas (I used 600x600)
2. Using your paint bucket tool, fill the whole canvas with black paint. Once again #000000 is the code for black! Obvious! =D
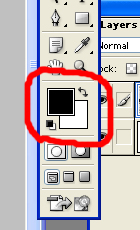
3. Now you must set your two foreground and background colors to default. You can do this by pressing D on your keyboard so the foregrond color changes to black, and the background color changes to white on your tool bar, like so:,

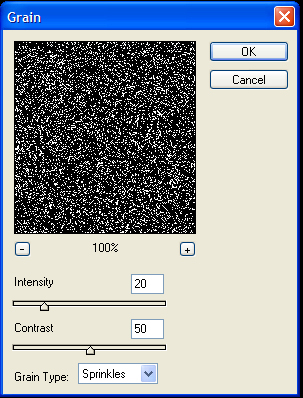
4. Filter >> Texture >> Grain, and use these settings. This will give a spacey texture... well sort of! Its getting there to! Use the setting below to get the same grain texture!

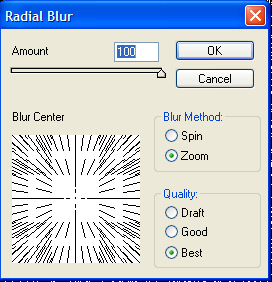
5. The next step, you will need to use the blur effect to set your images into a spacey look! Simply use the filter Radial blue and the setting! Filter >> Blur >> Radial Blur, and use these settings:

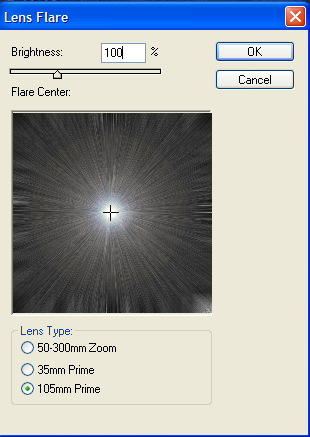
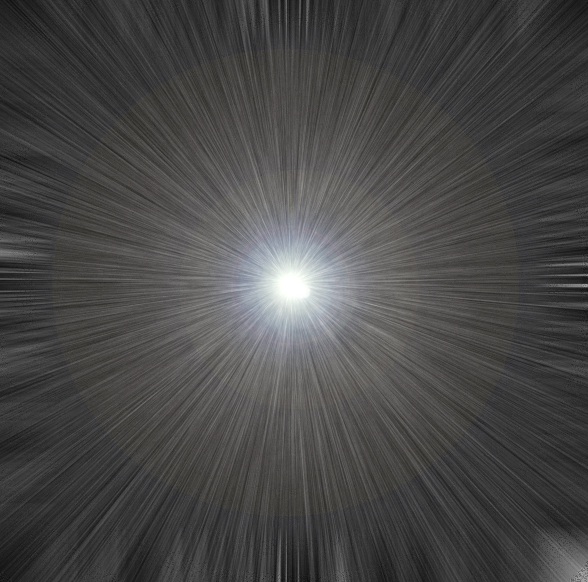
6. The next step, you will need to make the epic-center of your vortex. You can make the center of the vortex by using the filter known as lens flare! Go follow the instruction to get to Lens flare and follow the setting below. Filter >> Render >> Lens Flare, and position the flare towards the center of your Radial Blur as much as possible:.

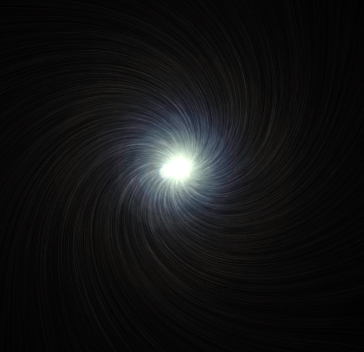
Now you will look. This is a space vortex. Well, it will need a bit more work! You should have this so far!

View full image here.
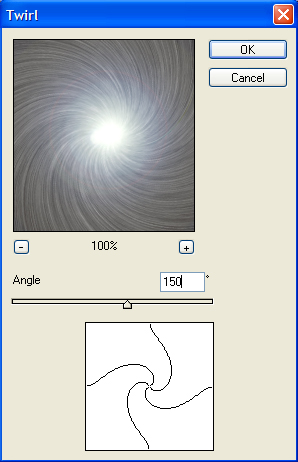
7. The next step, you will give your vortex a squirly effect. You can do it by Filter >> Distort >> Twirl, and use these settings: (Use the filter below! ) It will give your vortex a twirl!

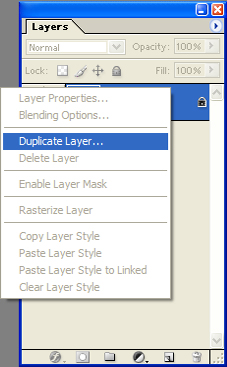
8. Now you will need to duplicate your background layer. to do so right click on your background layer in the Layer Palette and go to Duplicate Layer. Name this new layer whatever you want!.

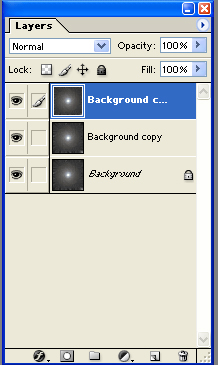
9. For step 9, you will need to repeat step 8. You should now have about 3 layers of the same image!

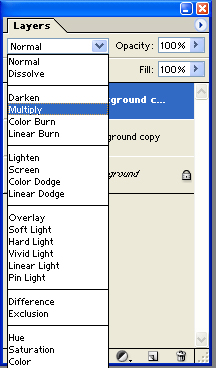
10. Using that drop-down menu in the Layers Palette (on the top left), set both copied Background layers to multiply.

If you followed the direction down to the point, you should have something like this!

11. Now you have 3 layers, and often that annoys me. You can make all three layer into one by going to layer >> flatten image.
12. Select the little star image, and copy it (CTRL+C).

13. File >> New and make your new canvas as large as the first one (for efficiency reasons.) Flood fill the new canvas with black and then paste (CTRL+P) your copied little star image on it.
14. Right click on your Layer 1 (which should be the little star), and go to Duplicate Layer. Set the Layer 1 Copy to Screen using the drop-down menu in your Layers Palette, and your little star should look a bit bigger.

15. Layer >> Merge Down.
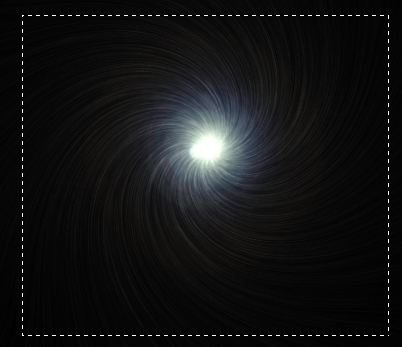
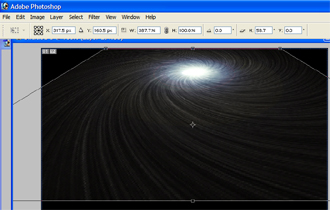
16. Edit >> Transform >> Perspective and at the top of your screen, adjust the numbers in the white boxes like so:

View full image here.
17. Duplicate the spirally layer and then Screen the copied layer to brighten up the spiral.
18. Layer >> Merge Down.
19. Select the spiral star with the Rectangular Marquee tool (try not to select the black background), copy it (CTRL+C). File >> New, leave the settings as they are (Your Adobe should automatically set the exact width and height of your copied selection) and on that new canvas, fill in the background with black and paste your spiral.
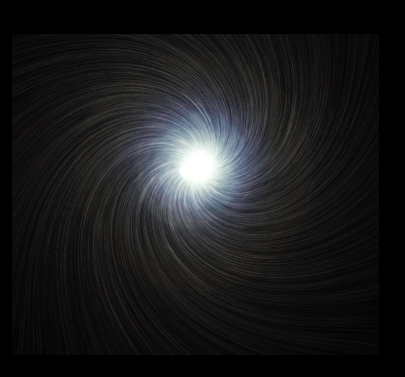
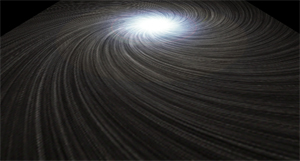
20. Layer >> Flatten Image and you're done. Here's the finished product:

View full image here.
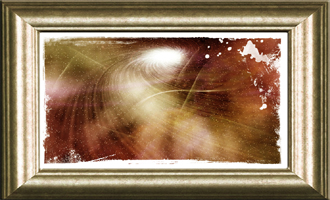
You can use this for many things! Here what I did with my spiral vortex!

View full image here.


