Celoxdesign V2 menu headings
[ 作者来源:celoxdesign.net
编辑整理:
PhotoShop资源网
更新时间: 2006-10-04
录入: 黄叶飞扬 ]
Intro:
In this Adobe photoshop tutorial I’ll show you how I made Celoxdesign’s V2 menu headings.
Step 1:
Open up a new file with dimensions: 300x100px (widthxheight). Take the paintbucket 
Press D on your keyboard to reset your for and background color. Take the Rounded rectangular tool
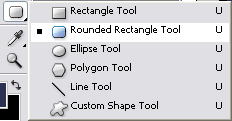
and make a shape like mine.
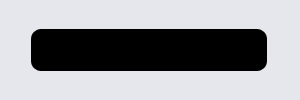
Step 2:
If your happy with the shape you just made you can rasterize it so we can smooth it out. Right click the "Shape 1" text or the thumbnail next to it and press Rasterize layer.
Now you have to smooth out the edges, if you don’t know how you can follow this tutorial on how to do so.
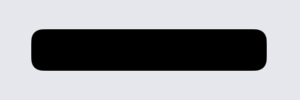
Step 3:
Next is to fill our shape with a nice color, Let’s take not the same color as mine just for the fun of it. But they key to success is to take dark color so our shines which we’ll make later on will have a more glossy effect.
Ctrl+Click the Shape in the layers window, set the foreground color to: #5d2c35 and hit Alt+Back to fill.
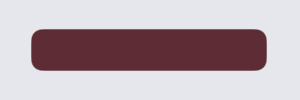
Step 4:
Ctrl+Click the little black and white thumbnail in the layers window, which is our layer mask we talked earlier about in the smooth edges tutorial.
If you Ctrl+Click the normal thumbnail it makes a selection of the old shape without the smooth edges, so be very carefull what you click!
Just to make it all more clear, Hold ctrl and click on the normal thumbnail of Shape 1, then On the black and white and watch the selection change.
Now we got the right selection it’s time to actually do something with it hehe.
First we have to contract the selection (making it smaller), later you will see why, to do so go to Select > Modify > Contract
Make a new layer Ctrl+Shift+N and name this layer Shine_Top.
Reset your colors (Hit D on your keyboard to reset and X to switch,making white the foreground).
Take the gradient tool 
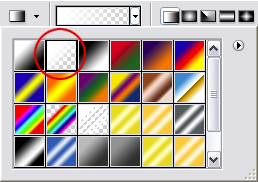
and make a gradient from the top of the selection to like 3/4
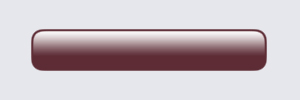
Now cut off the bottom so it has a sharp edge, make a selection similar to mine shown below
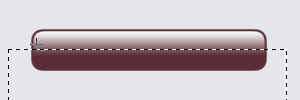
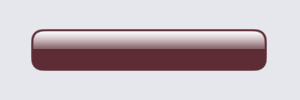
And press delete on your keyboard.
Step 5:
Duplicate the Shine_Top layer and name this layer Shine_Bottom by doubleclicking it in the layers window.
Flip the layer vertically (Edit > Transform > Flip vertical).
And move it to the bottom until you have the same pixels left as on the top.
Get your rectangular marquee tool again and cut of the top part to make smaller and keeping the smooth edges intact.
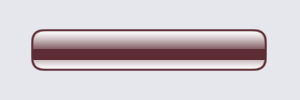
Change the Opacity of Shine_Bottom to 33% in the layers window, and of the Shine_Top to 87%.
Step 6:
Get the custom shape tool 
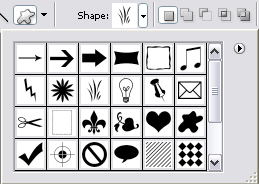
Make your shapes where you like them just make the shapes on the position you want them to have I’ll explain on how to cut them out later ..... done? Good :) Let’s cut them out now so they fit our shape shall wel.
First you have to rasterize your shape(s) so we can delete any unnecessary parts. Right click the Shape’s text and choose rasterize layers, do this for all shapes when you have more.
Then Ctrl+Click The black and white thumbnail of "Shape 1" like we did before to make the proper smooth selection.
Hit Ctrl+Shift+I, this will make an inverse selection, Select one of your shapes you made, and hit delete on your keyboard, do this for all your shapes when you have more.
Lower the opacity to 14% for all the shapes in the layers window.
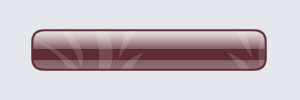
An voila We’re done!
You could add some text to finish it off nicely.


