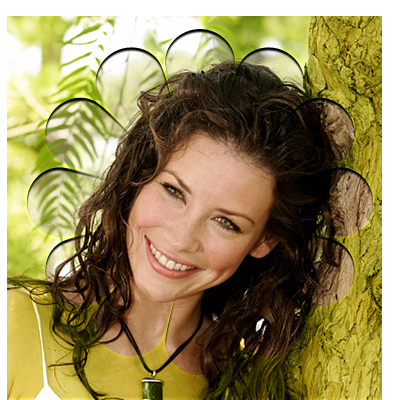
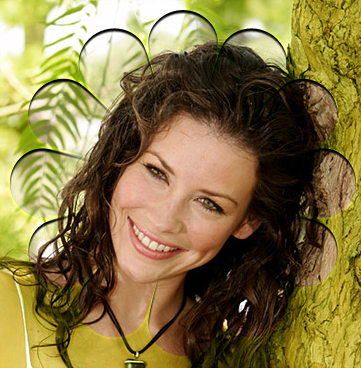
See thru image border
[ 作者来源:celoxdesign.net
编辑整理:
PhotoShop资源网
更新时间: 2006-10-11
录入: 黄叶飞扬 ]
Step 1:
Open up a new file (Shortcut: ctrl+n) 400x400px
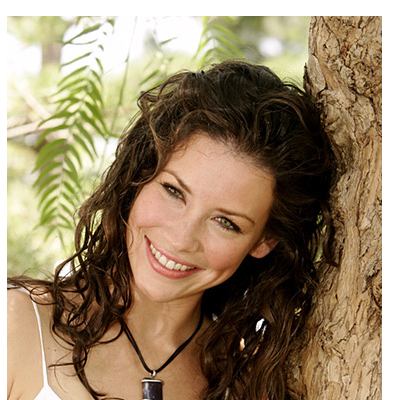
Open the Evangeline Lilly photo, or use another photo.
First unlock the photo in the layers pallette by doubleclicking on it.
Then Drag the layer from the layers pallette into the new created file.
If you didn’t change anything in the new created file the photo layer is now called Layer 1 in the layers pallette, you can easily change this, doubleclick the Layer 1 and name it EL Photo.
Step 2:
Now that we got the preperation done it’s time to make that nice border, I’m using a custom shape for this.
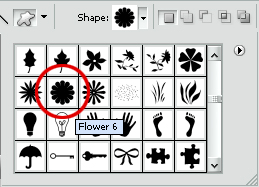
Click the custon shapetool in the tools window  Then at the top you can choose a shape, choose this shape located below:
Reset colors by pressing D on your keyboard, then make the shape like below:
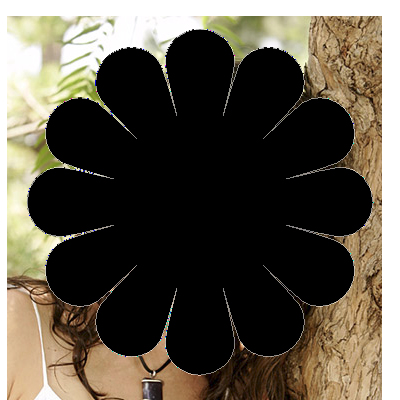
Now we have to make a selection of the shape, HOLD ctrl on your keyboard and press the shape layer.
Then hit ctrl+shift+I on your keyboard to make an invert selection, you can also do this to rightclick the selection and choose select inverse.
Now we got the Selection we can hide the Shape layer, just click the little eye icon in the layers pallette right infront of the layer.
With the selection still active make a new layer (Shortcut: ctrl+shit+N), Name this layer Border.
Select the rectangular marquee tool  Then rightclick in the project window somewhere inside to selection, choose fill and fill it with a color to your likings. I used color: #7ba800.

Step 3:
Now it’s time to pollish up the border we just made.
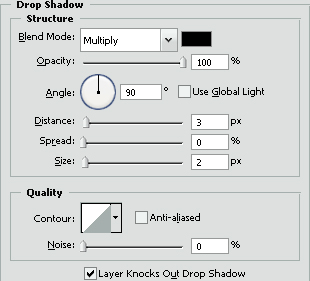
Use a dropshadow with settings below
(right click Border layer > Blending options > Check drop shadow, and change settings)

Set the Mode of the Border layer in the layers pallette to soft light, this will make it see thru as you can see.

Step 4:
If you didn’t center the image correctly with the border or vise versa that’s no problem, I thought of that to make the project window bigger then the width of the photo we’re using. AND it will show you on how to merge all visible layers in 1 layer!
So here we go,
Make a new layer on top of all other layers, and prest ctrl+shift+alt+E, this will merge all visible layers.
Make a rectangular selection, Get the rectangular marquee tool  And make a selection so we don’t have white pieces into it, you can align the selection so you have even borders on all sides.
Ctrl+C to copy the selection, Ctrl+N to make a new file, then Ctrl+V to paste the copied selection. Now save it and your done!
*saving instructions: Go to File > save as > Choose jpg instead of psd.

≡★ 免 责 声 明 ★≡
除本站原创外,本站所提供的所有教程均收集整理自网络,其版权归该教程直原始作者或原始出处所有!
除特别声明外,您可以在保持教程的完整和注明来源的前提下免费复制、转贴本站所提供的所有教程;但是,不可以盗链本站的图片!
除特别声明外,在未经许可的情况下您不得将本站所提供的任何教程(包括资源)用于商业用途;
如果确有需要,请自行与该教程的原始所有权者(即:原始作者或出处)联系,本站不提供相关服务;否则,由此而引发的一切后果由您自负!


 Then at the top you can choose a shape, choose this shape located below:

 Then rightclick in the project window somewhere inside to selection, choose fill and fill it with a color to your likings. I used color: #7ba800.
