Glossy Content Box
[ 作者来源:photoshopforce
编辑整理:
PhotoShop资源网
更新时间: 2006-11-05
录入: 黄叶飞扬 ]
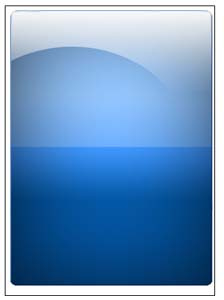
In this tutorial you will learn how to create a smooth gloss content box. This effect can be found all over the internet these days, to make a very stylish glass/plastic effect for your headers, buttons, and content boxes. After following the steps in this tutorial you will be able to create great looking content boxes.


Open an existing document in photoshop, or open a new one. I will be working with a 300x415 canvas for this tutorial.
Fill the background with white (#FFFFFF).

Get out the Rounded Rectangle tool ( Make sure the "Fill Pixels" is selected

Drag out a rectangle just a little smaller than the canvas size such as l've done here:

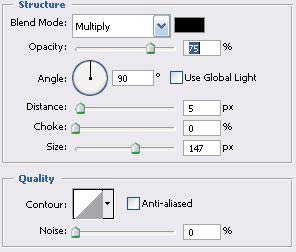
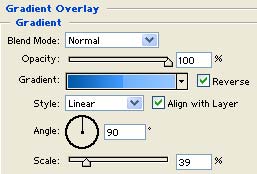
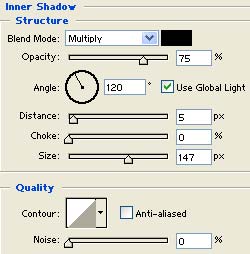
Double click this layer, and apply the following blending options:
Inner Shadow:

Stroke:

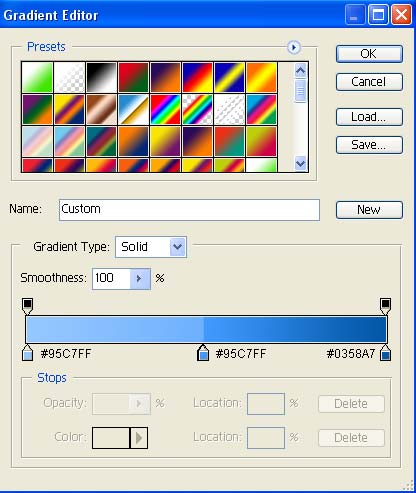
Gradient Overlay:


Inner Shadow:

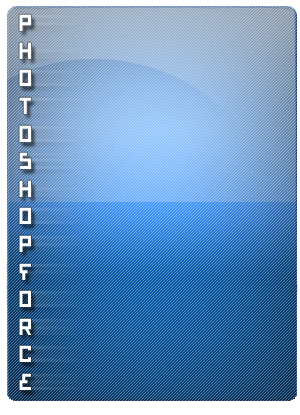
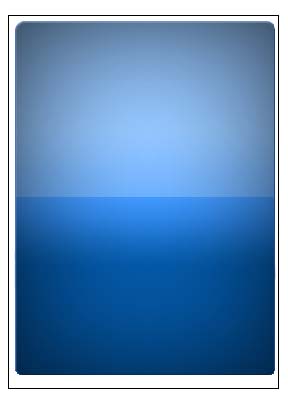
Result:


Next we'll create a shine/gloss to our content box. Hold down the CTRL key on your keyboard and click this layer (doing so should make a selection of everything on this layer) Alternatively you can get out the magic wand tool (
Keeping the selection still active, create a new layer.
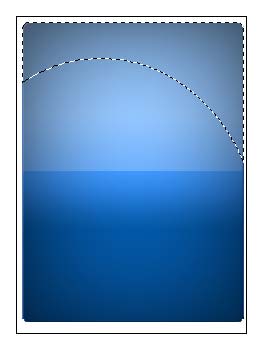
Get out the elliptical marquee tool (
Now press and hold the ALT key on your keyboard, and make a deselection as l've done here:

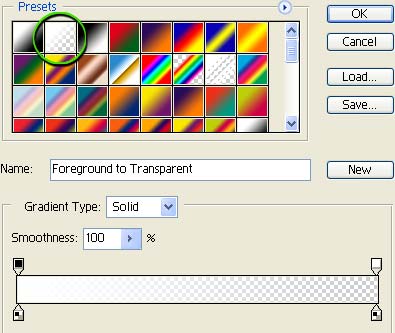
Set your foreground color to white (#FFFFFF). Get out the gradient fill tool (

Next fill this selection with your gradient from top to bottom as l've done here:

Drop the opacity of this layer to 40 percent:

This should lighten the gloss a little bit, and make it look more realistic.

Next we are going to cover our content area with some basic scan lines. Here is how we create scan lines.
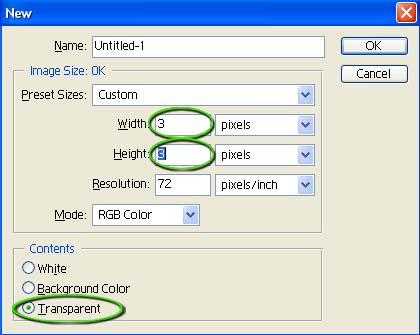
Press CTRL+ N on your keyboard to create a new document. set the size to 3x3, with a transparent background:

Next zoom in as close as you can to this new 3x3 document.
You can zoom quickly by holding the CTRL key and rolling your mouse scroller downward
Set your foreground color to black (#000000). Get out the pencil tool (

Using the pencil tool, draw three dots onto the canvas exactly as l've done here:

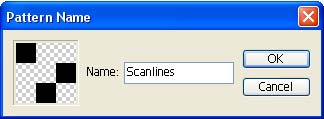
Go to "Edit->Define Pattern", and name this pattern "Scanlines":

We are finished creating our pattern, so you can safely close this 3x3 document.

Now move back to our original "glossy content box" document and create a new layer.
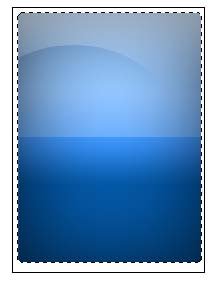
Hold down the CTRL key on your keyboard, and click on the glossy content box layer. (just like we did in step #3. This will once again make a selection of our entire content area:

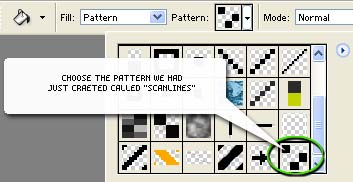
Get out the flood fill paint bucket (

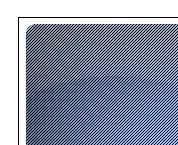
Fill in the selection with your pattern and press CTRL + D on your keyboard to deselect the selection:

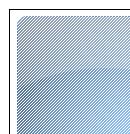
Press CTRL + I (that's an i) on your keyboard to invert the colors, this should change the color of the scan lines to white instead of black:

Drop the opacity of this layer down to around 50 percent:

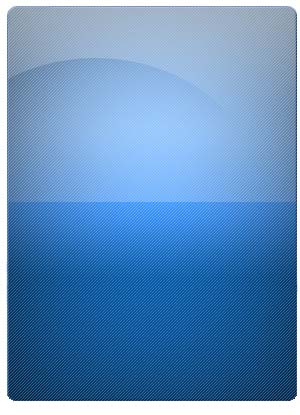
Result:

This concludes the glossy content box tutorial. I hope you've learned some good tips and tricks used by the professionals while following along with this tutorial!
≡★ 免 责 声 明 ★≡
除本站原创外,本站所提供的所有教程均收集整理自网络,其版权归该教程直原始作者或原始出处所有!
除特别声明外,您可以在保持教程的完整和注明来源的前提下免费复制、转贴本站所提供的所有教程;但是,不可以盗链本站的图片!
除特别声明外,在未经许可的情况下您不得将本站所提供的任何教程(包括资源)用于商业用途;
如果确有需要,请自行与该教程的原始所有权者(即:原始作者或出处)联系,本站不提供相关服务;否则,由此而引发的一切后果由您自负!


