Step 1:
Create new file with dimensions 400x300px.
Fill it with color: #eaeaea with the paint bucket (set foreground to #eaeaea, select paintbucket and click somewhere in the project.
Step 2:
Now we’re going to create the round edges contentbox.
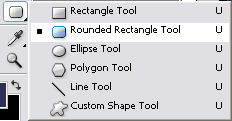
Select the Rounded Rectangle tool, set radius to 10px

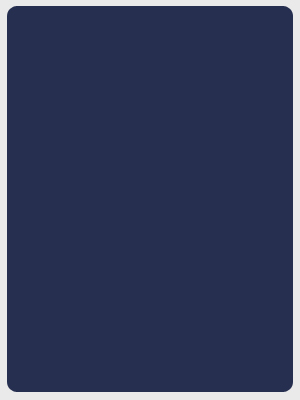
Now make a shape similar to me. Don’t worry about the width and height, because we will code this little box later on and give it the width and height we like. But ofcourse you have to check if the rounded edges are how you want them.
Step 3:
Now let’s adjust this box, Right click on the shape layer we just created, and hit Rasterize layer, doubleclick "Shape 1" and name it box.
rightclick "box" hit blending options, activate color overlay, just click on the text not the tickbox, this will select coloroverlay and activates it.
Change the default red color to: #262f50

Step 4:
Now we got that done it’s time to make the rounded edges more smooth which is VERY easy to do.
Ctrl+leftclick "box" layer, this will make a selection. Then hit this icon:

This adds a layer mask to the shape. The reason for making the selection before we make the layer mask is that it keeps the selected part as a whitepart (white=visible) and the part around the selection will be black (black=unvisible).
Hold the ALT key, and leftclick the layer mask, this will make the layermask visible.
Step 5:
Let’t smooth out those edges shall we, go to: Filter > blur > Gaussian blur, and use a radius of 5px, hit OK.
Go to levels (Shortcut: ctrl+L) and use the settings below:
Input levels: 120, 1.00, 144
Leave the rest as default.

Step 6:
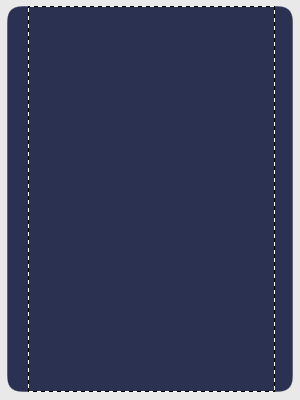
Set the foreground color to: #787d92, and Make a selection shown below with the rectangular marquee tool 

Press ctrl+shift+N to make a new layer.
TIP: Ctrl+shift+N popups the window where you can do some stuff, like naming the layer, setting color etc.. The shortcut ctrl+alt+shift+N makes a new layer and doesn’t popup the window.
Hopefully you got the popupwindow still open from the new created layer, name the layer "box inner".
Step 7:
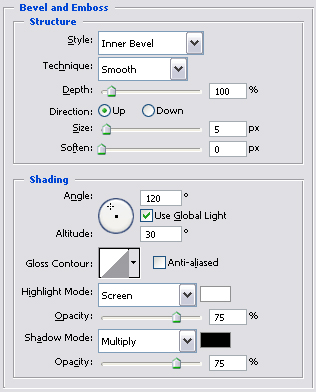
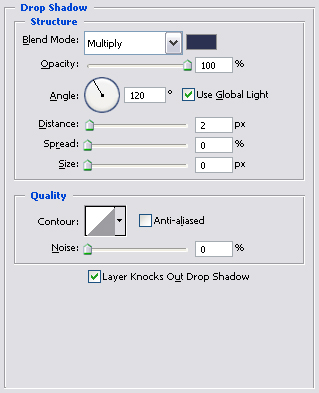
Add these blending options to the "box" layer, right click in layers pallete choose blending options.
