Step 8:
Cltr+Click the layer mask of the "box" layer, this will make the selection of the layermask with the smooth out edges we made before, if you ctrl+click the box layer itself it will make a selection without the smooth out edges, thus making the wrong selection.
Set foreground to white (Press D on your keyboard, then X).
D is resetting colors to black and white, and X is switching them making white the foreground and black toe background.
Make a new layer like you did before, name this one "shine"
Take the gradient tool  Select the foreground to transparant layer
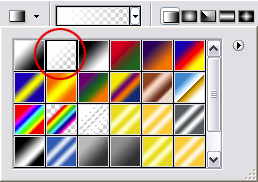
and make a gradient similar to the one I made below:
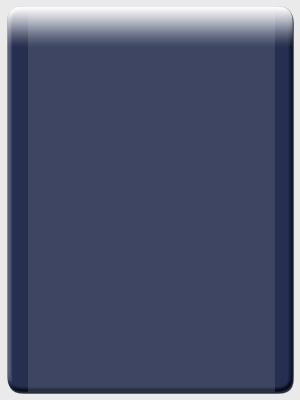
Ctrl+Click the layer mask of the "box" layer again, then go to: Select > modify > contract, and set it to 2 pixels, press OK.
Then press ctrl+shift+I, this makes an invert selection, press delete on your keyboard.
You see what we’ve done now? If yes jump to step 9, If not.. please read on.
- First we made the shine with gradient tool.
- Then we made a selection of the layermask.
- then we contract the selection (making the selection smaller) with 3 pixels, so the selection is 3 pixels smaller.
- Then we inverted the selection with Ctrl+shift+I.
- And finally we hit delete.
- The end result: a 3 pixel narrower shine :)
As you can see this makes a more glass look

Step 9:
Take the rectangular marquee tool and delete a few or some more pixels from the bottom of the shine, this will boost the end result dramaticly! This will delete the transaction to white to in this case blue a bit, and makes a more straight shine.
Duplicate the "shine" layer, and go to edit > transform > flip vertical, and move the layer to the bottom of the content box, like mine below.

Step 10:
Make a selection like shown below:
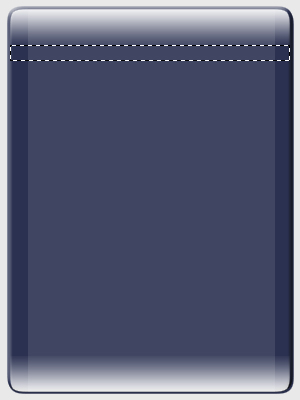
Make a new layer, name it shine small
And make the same gradient like you did before, the settings are still the same if you didn’t change anything.
You should have something similar to this:

Change the mode to soft light in the layers window, and the opacity to 24%
Duplicate "shine small", flip it vertically, and move it to the bottom again so you have the excact opposite of the top of the content box.
Step 11:
Make a new layer named "line", Take the penciltool from the tools IMAGE VAN PENCILTOOL*****
Make sure you still have white as foreground, and make a line similar to mine with a 1 px pencil.
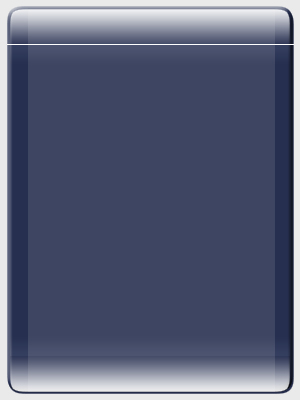
Move this line just between the 2 created top shines.
Go to blending options and change the color overlay to the settings below:

Duplicate this layer and move it to the bottom again, just between the 2 shines.
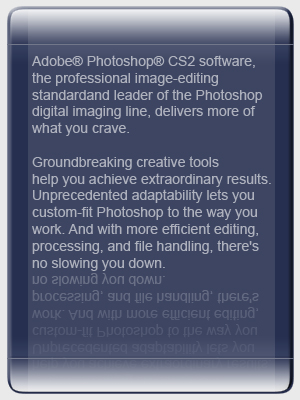
And there you have it!! A very smooth glass content box.
My end result:


 Select the foreground to transparant layer


