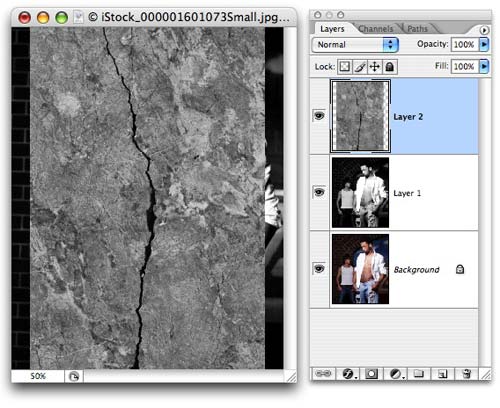
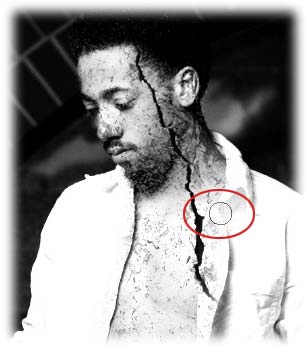
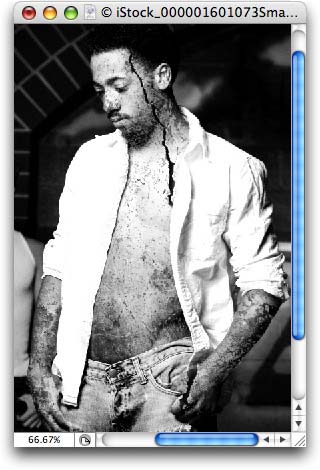
Step 5: Select the offender’s image once again and press Command + V (PC: Ctrl + V) to add the marble onto its own layer.
Step 6: Turn the stone to grayscale (if you want--again, this is a choice) by using the Channel Mixer method described above, or simply press Shift + Command + U (PC: Shift + Ctrl + U) to desaturate it. This is what we have now:
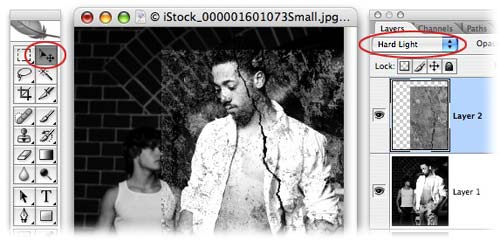
Step 7: In order for the original image to show through, we need to change the blend mode of the marble layer to Hard Light. Grab the Move tool by pressing V and move the marble into place.

Mask (hide) the background
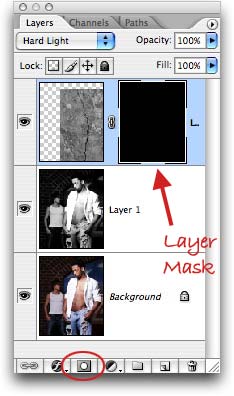
Step 8: Option click (PC: Alt click) the circle within a square icon at the bottom of the Layers Palette to add a layer mask filled with black (this will hide the marble layer completely).
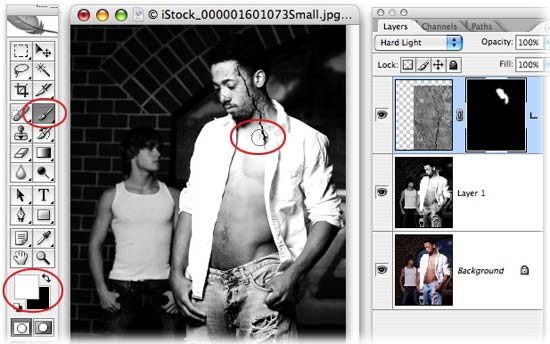
Step 9: Press B to grab the Brush tool and with white as the foreground color chip (just press X to swap them if black is on top), begin to paint the skin area. This will allow the marble to show back through the mask, but only in that area.

Step 10: If you paint in too much of the marble in, just press X to swap color chips so that black is on top, and then paint over that area to hide it once more.
TIP: Zoom in/out of the document by pressing Command +/?C (PC: Ctrl +/?C).


