4. Improve the mask
Click on the thumbnail of the layer mask of the Wall Texture layer; it will now have a double border.
In the menu select Filter / Liquify...
Select the Pucker Tool  in the liquify window (top left corner).
Use the following brush settings:
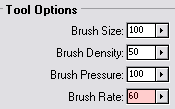
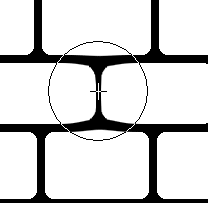
Now place the mouse cursor on top of the center of a vertical line and hold down the left mouse key until the line is pretty thin (see screenshot below). The longer you hold down the mouse key, the stronger the effect. The rate at which the effect is applied depends on the Brush Rate option (marked with red in the above screenshot). Lower the rate if things are going too fast for you.
If you want to undo a step, simply press Ctrl + Z (Command + Z on the Mac)
Continue with all the other vertical lines.
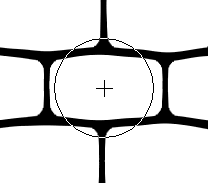
Select the Bloat Tool  when you’re done and place the cursor in the center of a stone and hold down the left mouse button for a fraction of second while moving the cursor slightly left/right to make make the sides of the stone less straight (lower the Brush Rate if you have to):
Continue with the other stones.
You can use the Forward Warp Tool  to move some lines sections to make the mask look more random. Change the brush size if you feel the need.
Click on OK in the upper right corner of the liquify window when you’re done.
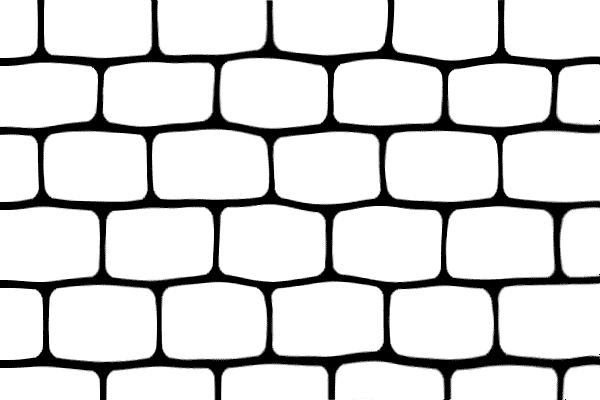
You might end up with something that looks like this:


 in the liquify window (top left corner).

 when you’re done and place the cursor in the center of a stone and hold down the left mouse button for a fraction of second while moving the cursor slightly left/right to make make the sides of the stone less straight (lower the Brush Rate if you have to):
 to move some lines sections to make the mask look more random. Change the brush size if you feel the need.